Noise pollution is quietly stealing our peace, affecting sleep, productivity, and mental health. Taking control starts with understanding the problem through DIY sound monitoring solutions.
🔊 Why Neighborhood Noise Matters More Than You Think
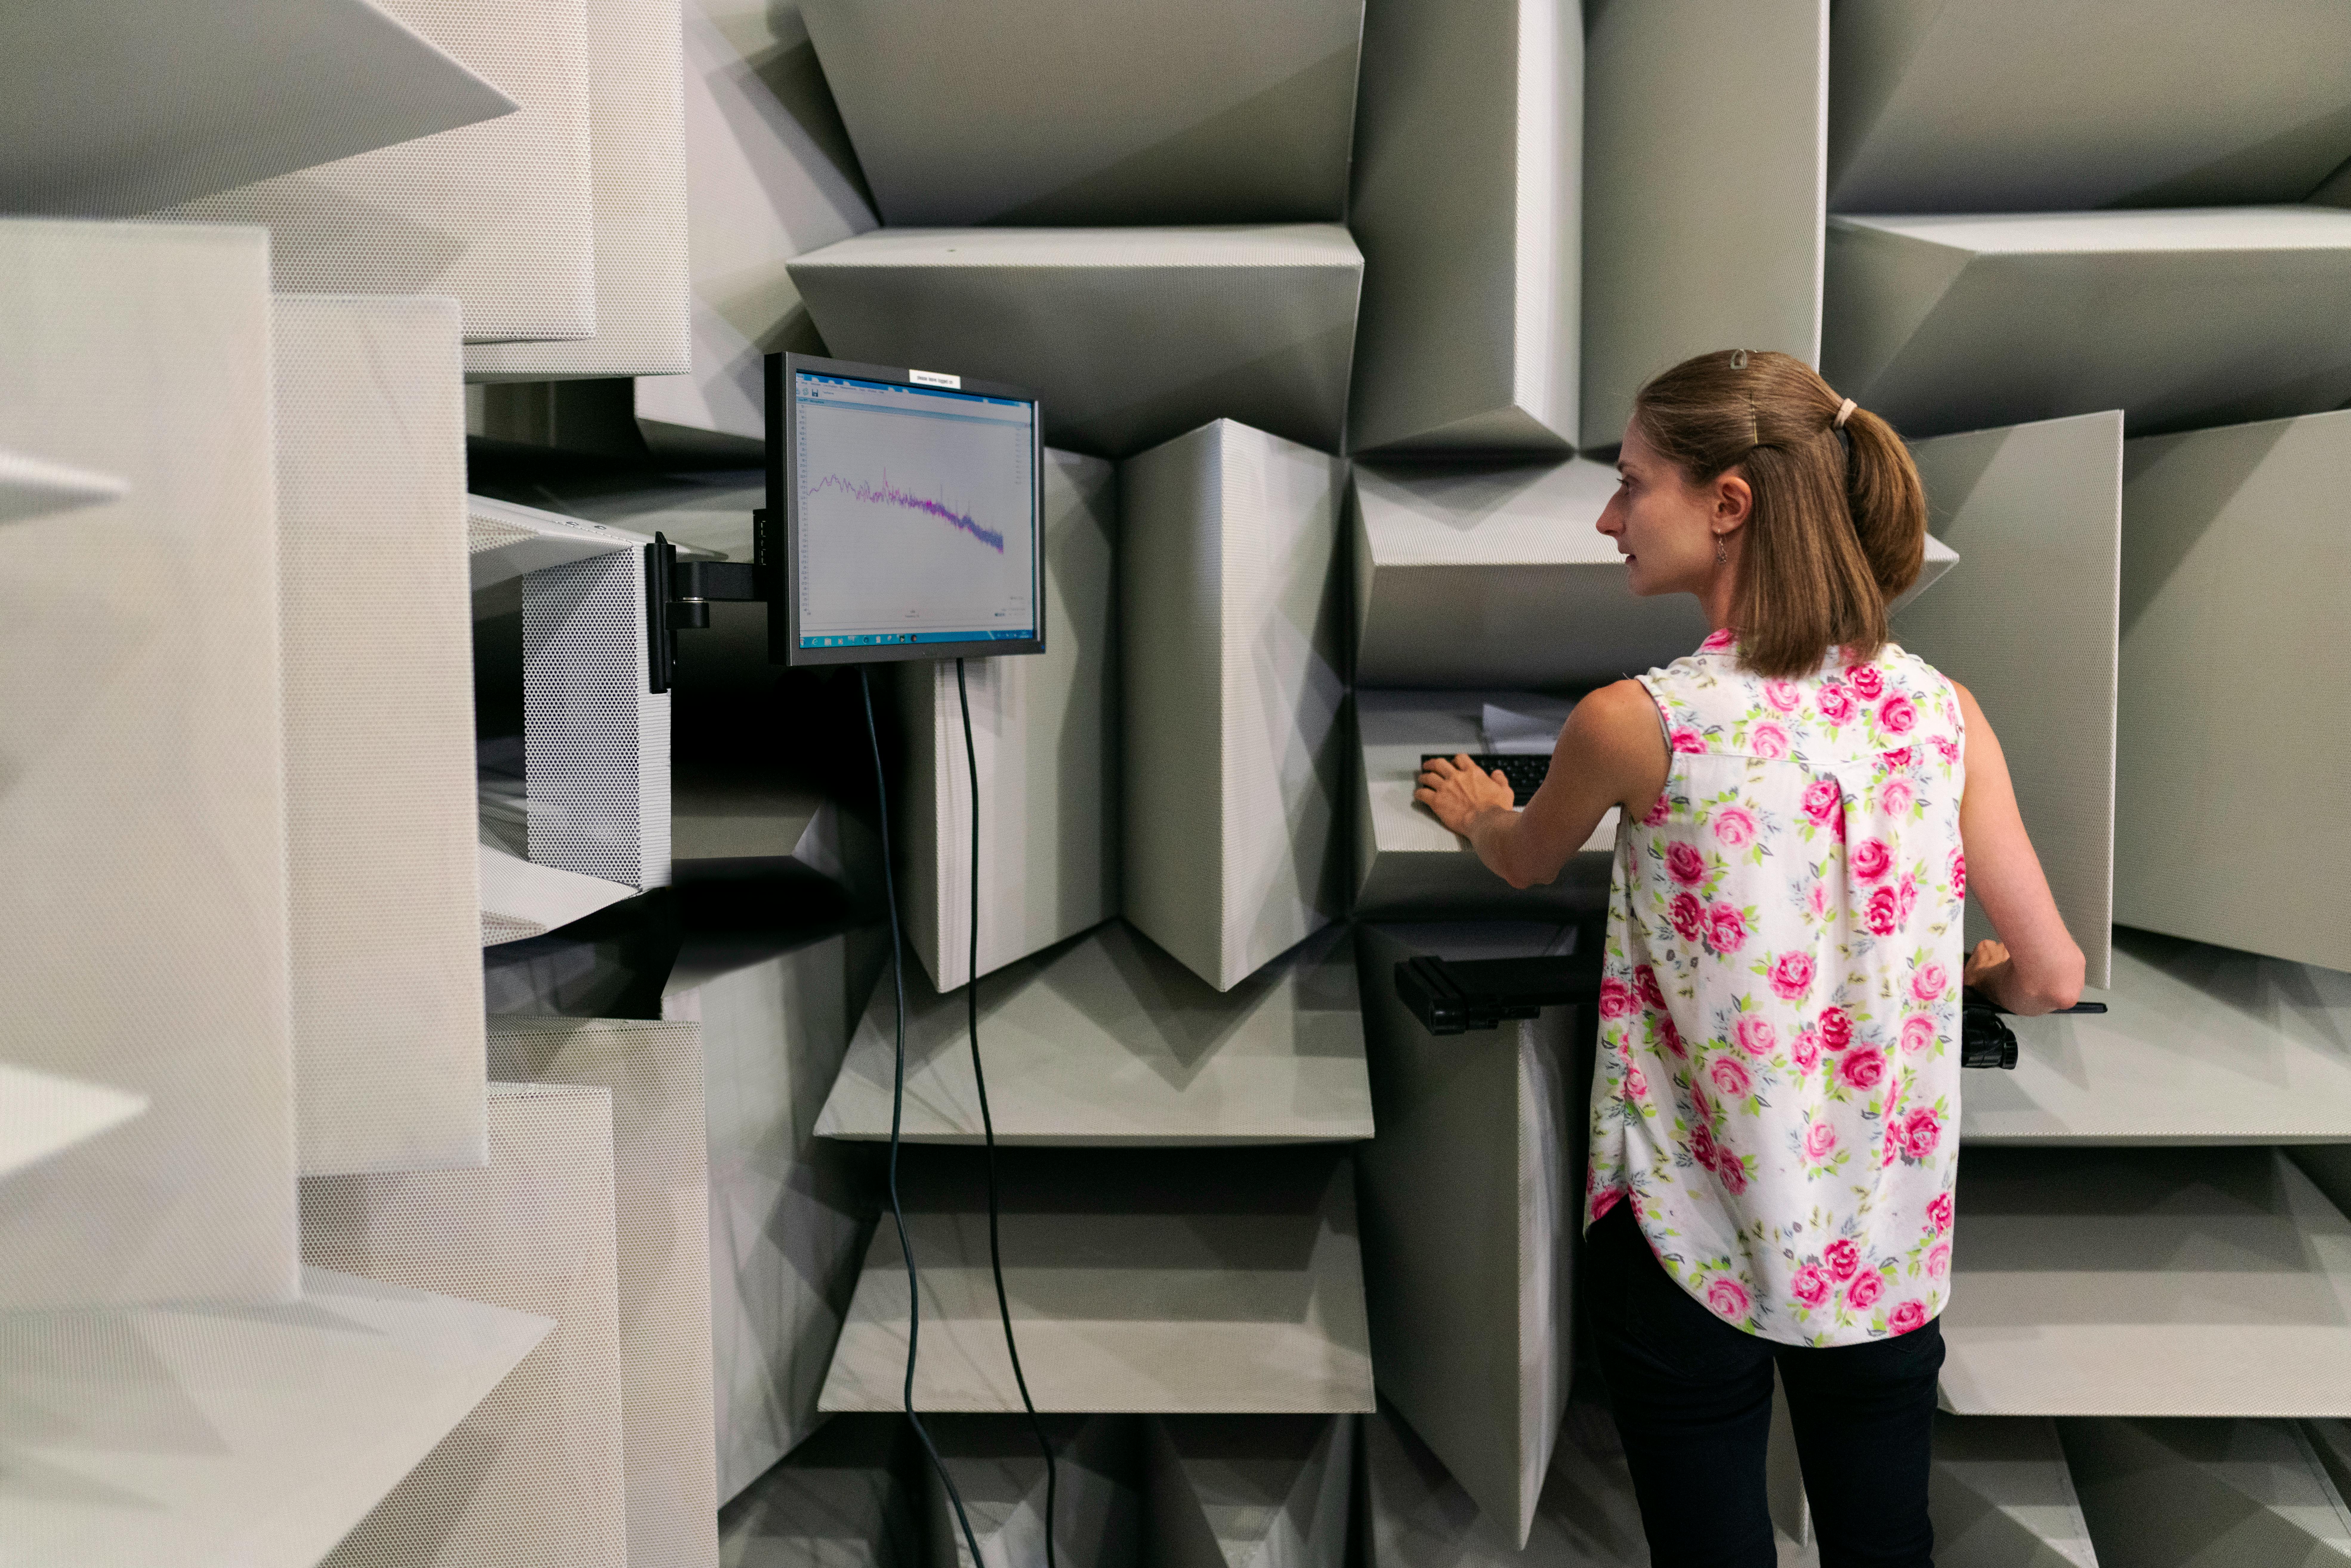
The World Health Organization identifies noise pollution as one of the top environmental health risks in urban areas. Chronic exposure to sound levels above 55 decibels can trigger stress responses, cardiovascular issues, and cognitive impairment. Yet most people have no objective way to measure what they’re experiencing daily.
Neighborhood noise isn’t just an annoyance—it’s a documented health hazard. Construction equipment, traffic, barking dogs, late-night parties, and commercial activities all contribute to an acoustic environment that can exceed safe thresholds. Without reliable data, addressing these issues with landlords, local authorities, or neighbors becomes a matter of subjective complaint rather than documented concern.
Building your own sound monitoring system empowers you with concrete evidence. Whether you’re documenting a pattern of disturbances for a noise complaint, understanding your home’s baseline acoustic environment, or simply satisfying your curiosity about decibel levels, DIY sensors provide actionable insights at a fraction of professional equipment costs.
🛠️ Understanding Sound Measurement Basics
Before diving into construction, understanding fundamental acoustic concepts ensures you interpret your data correctly. Sound is measured in decibels (dB), a logarithmic scale where each 10 dB increase represents a tenfold increase in intensity. A whisper registers around 30 dB, normal conversation at 60 dB, and a lawnmower approximately 90 dB.
The A-weighted scale (dBA) adjusts measurements to reflect human hearing sensitivity, emphasizing frequencies we perceive most acutely while de-emphasizing very low and high frequencies. This weighting makes dBA the standard for environmental noise assessment and regulatory compliance.
Frequency matters as much as volume. Low-frequency rumbles from traffic or industrial equipment penetrate walls more effectively than higher-frequency sounds. Your monitoring system should ideally capture both overall sound pressure levels and frequency distribution to paint a complete picture.
Key Acoustic Terms You Should Know
- LEQ (Equivalent Continuous Sound Level): The average sound level over a specified period, providing a single-number representation of fluctuating noise
- Peak Level: The maximum instantaneous sound pressure reached during measurement
- Background Noise: The ambient sound present when specific noise sources aren’t active
- Noise Floor: The lowest measurement your equipment can reliably detect
- C-Weighting: An alternative to A-weighting that includes more low-frequency content, useful for assessing bass-heavy noise
📱 Smartphone Apps: Your First Line of Defense
Before investing in hardware, smartphone sound meter apps provide immediate insight into your acoustic environment. While not laboratory-grade, modern smartphones contain surprisingly capable microphones that can deliver useful measurements when properly calibrated.
Quality sound meter applications offer real-time dB readings, frequency analysis, recording capabilities, and data logging. Some even generate reports suitable for presenting to authorities or property management. The key is choosing apps that allow microphone calibration and display measurement methodology transparently.
For iPhone users, apps like Decibel X and NIOSH Sound Level Meter provide professional-grade features. Android users can explore Sound Meter by Abc Apps or Decibel X. When using these tools, remove phone cases, position the microphone toward the sound source, and avoid covering the mic opening with your hand.
Smartphone measurements work best for documenting patterns rather than absolute accuracy. Take multiple readings at different times, note contextual information like weather conditions and specific noise sources, and look for trends rather than fixating on individual numbers.
🔧 Building Your First DIY Sound Monitor
Creating a dedicated sound monitoring device provides consistency, automation, and placement flexibility that smartphones can’t match. A basic system requires just a few components and minimal technical expertise.
Essential Components for a Basic System
At the heart of most DIY sound monitors sits a microcontroller—either an Arduino board or Raspberry Pi. Arduino excels at real-time measurement and low power consumption, while Raspberry Pi offers easier data logging, network connectivity, and visualization options.
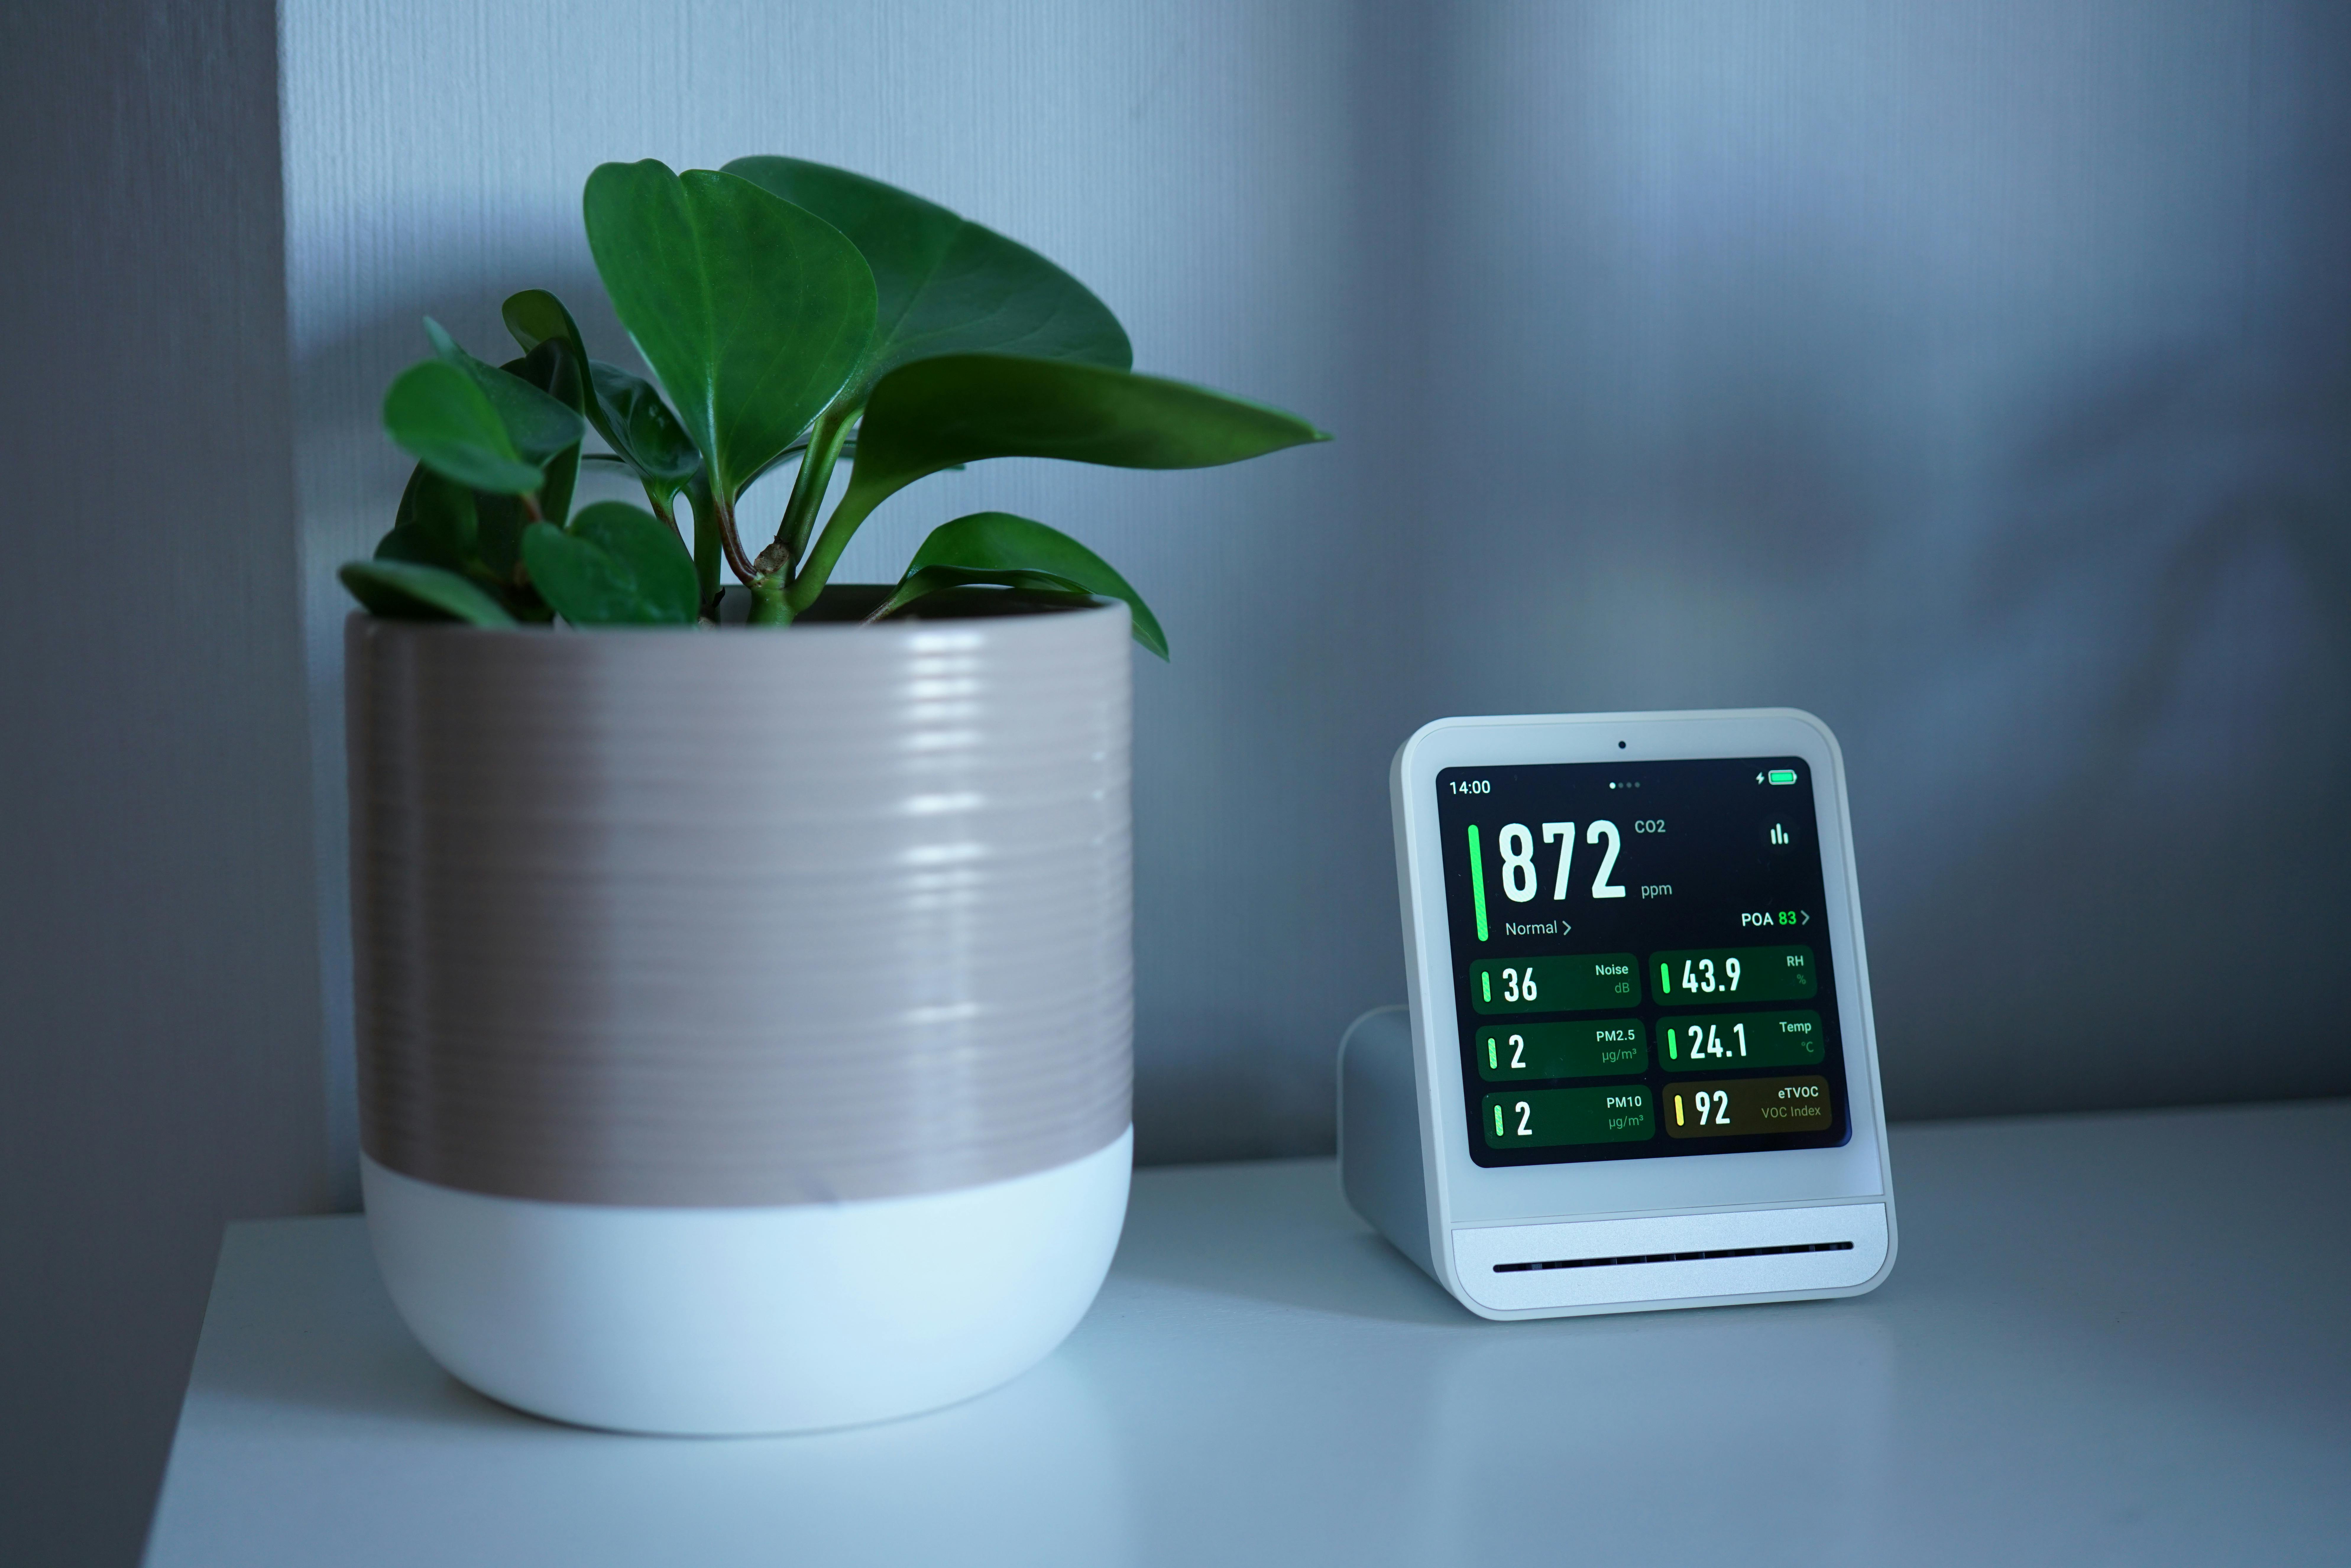
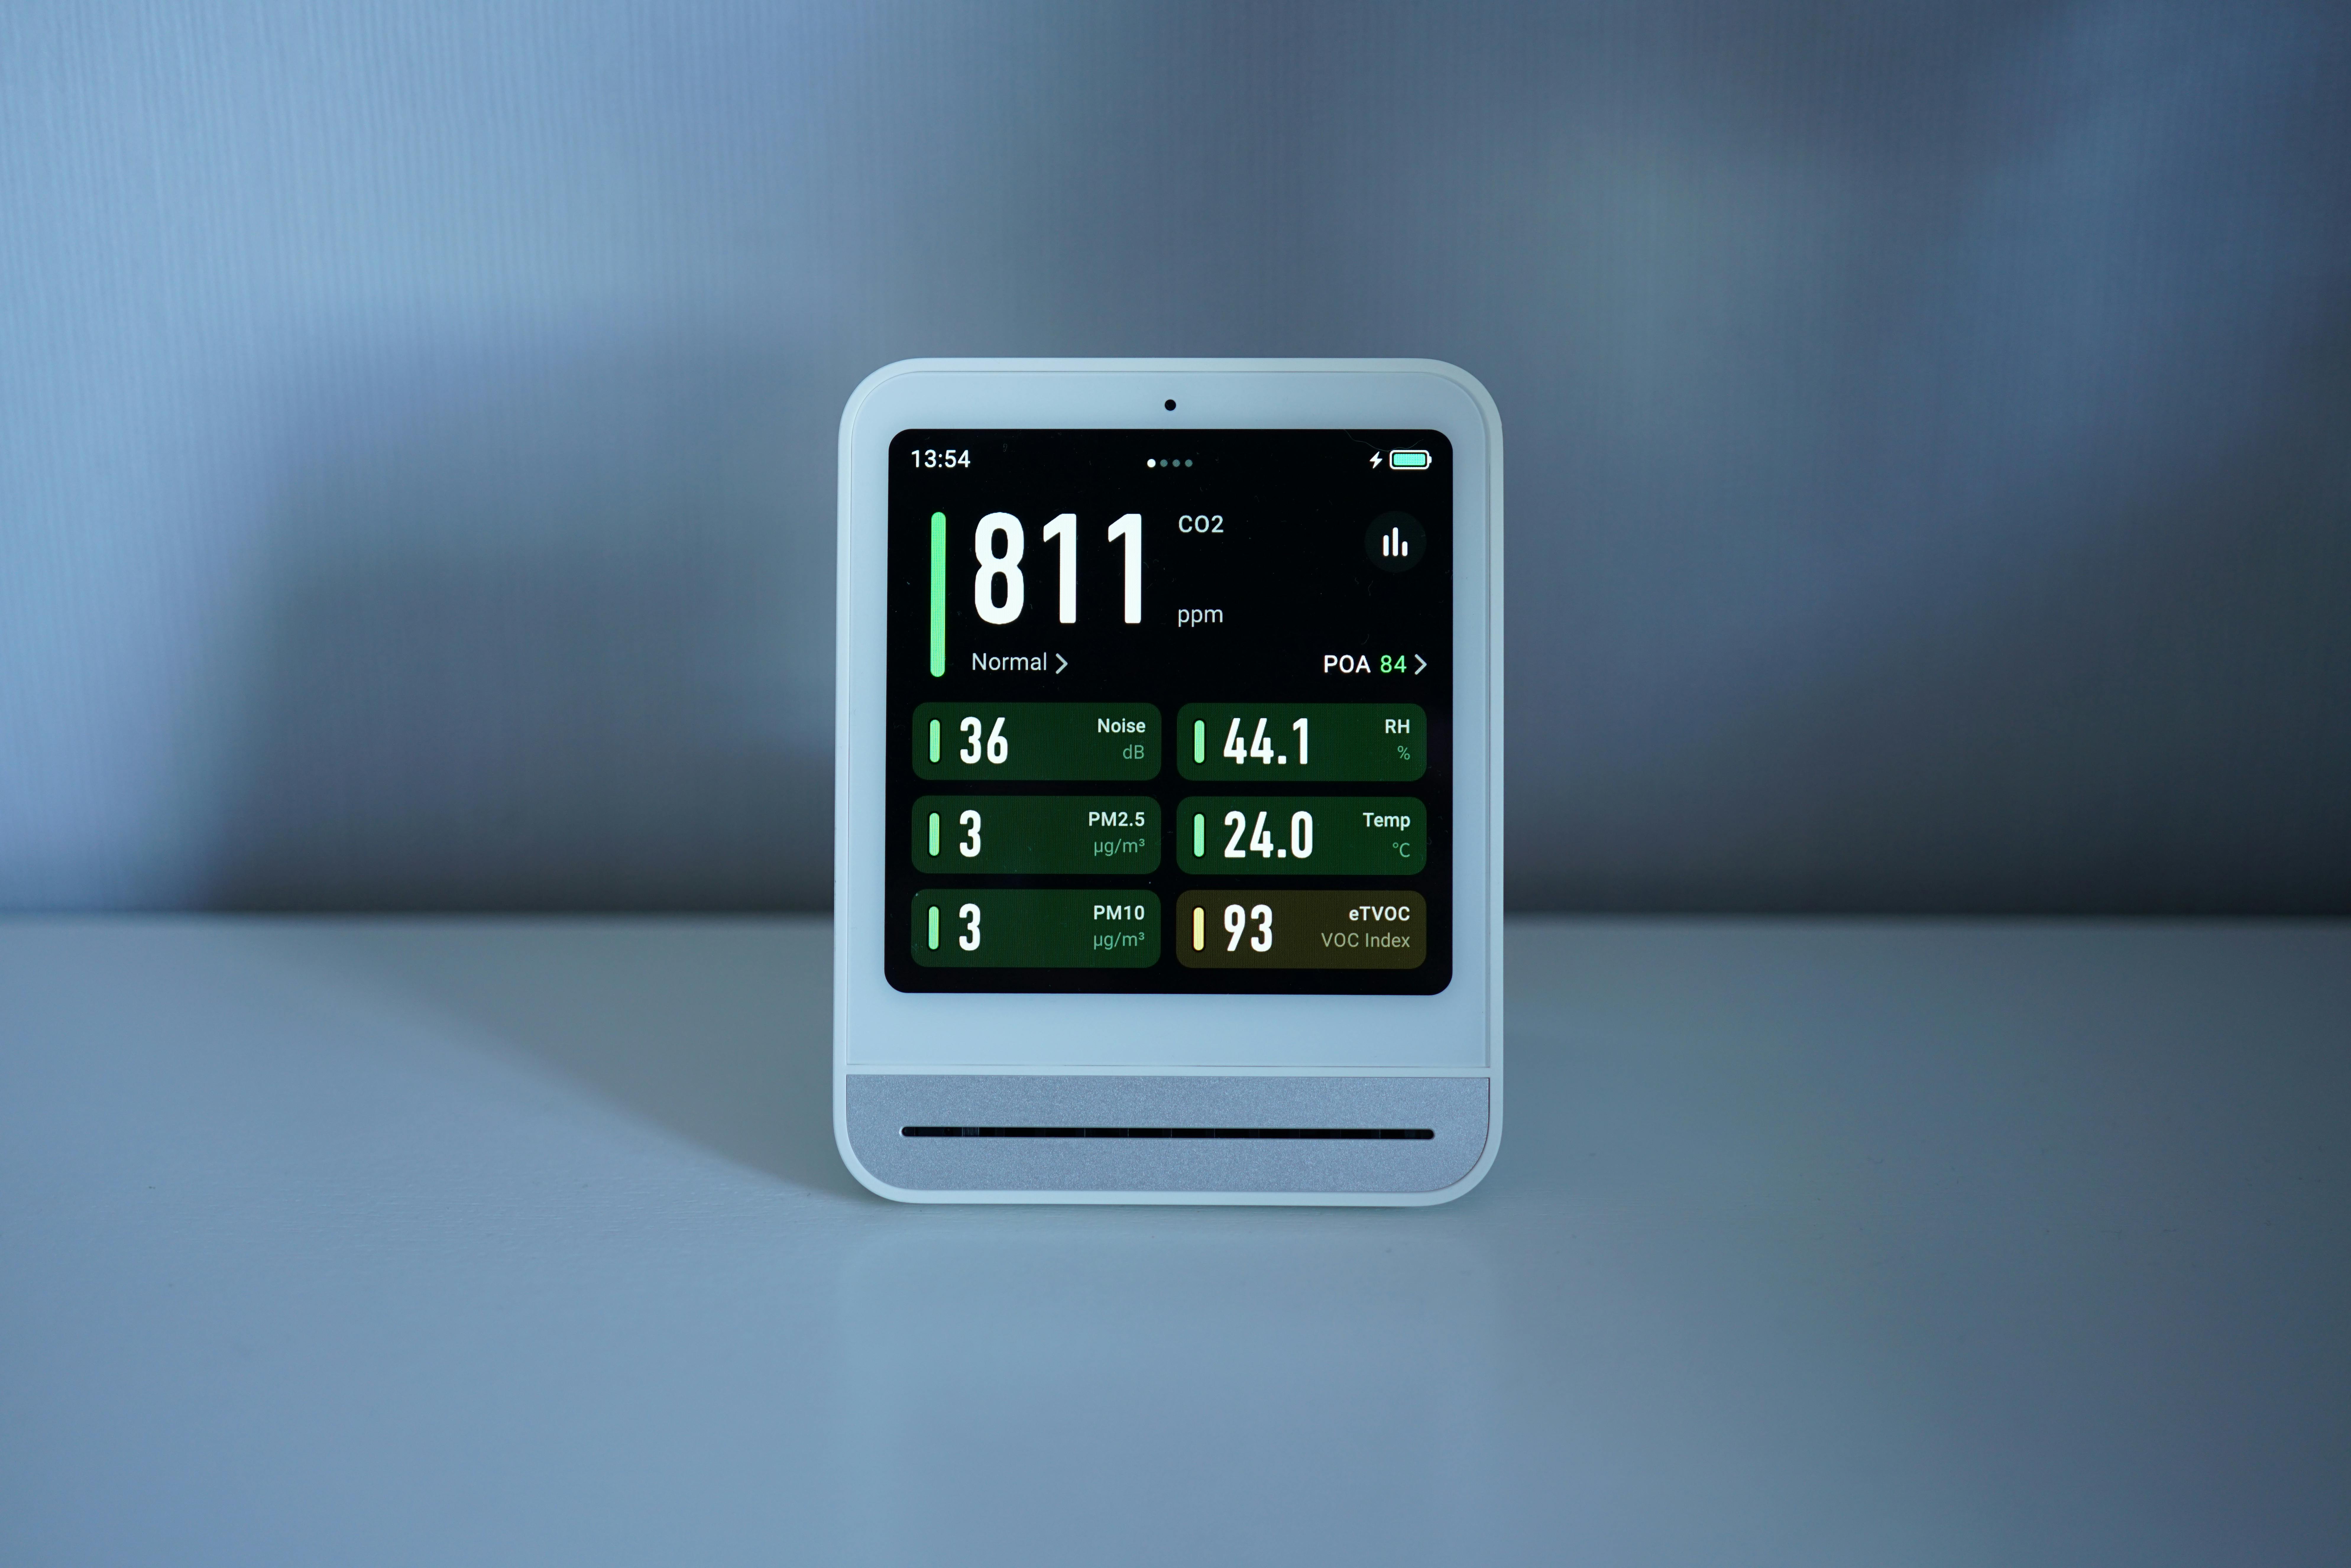
The sound sensor itself determines your system’s accuracy. Inexpensive modules like the KY-038 or LM393 provide binary loud/quiet detection suitable for trigger-based recording but lack measurement precision. For actual decibel readings, consider electret microphone modules with amplifier circuits or purpose-built sensors like the Sparkfun Sound Detector.
Professional-grade options like the Adafruit I2S MEMS microphone or the Gravity Analog Sound Level Meter deliver calibrated measurements approaching commercial sound level meters. These typically output analog voltage proportional to sound pressure, which your microcontroller converts to decibel readings through simple calculations.
Arduino-Based Sound Monitor Setup
An Arduino Uno paired with an analog sound sensor creates a functional monitor in under an hour. Connect the sensor’s output pin to an analog input on the Arduino, provide power from the 5V and ground pins, and upload code that reads the analog value and converts it to decibels.
The conversion formula depends on your specific sensor’s characteristics. Most require calibration against a known reference—either a professional sound level meter or calibrated smartphone app. Record sensor readings at various known sound levels, then create a lookup table or regression equation mapping voltage to decibels.
Adding an SD card module enables long-term data logging. The Arduino writes timestamped measurements to a CSV file that you can later analyze in spreadsheet software. For real-time monitoring, integrate an LCD display or OLED screen that shows current sound levels at a glance.
Raspberry Pi Weather Station Approach
Raspberry Pi systems shine when you need network connectivity and advanced processing. A Pi Zero W with a USB sound card and measurement microphone creates a WiFi-enabled monitor that uploads data to cloud services or displays dashboards through your web browser.
Software options include custom Python scripts using the PyAudio library, or pre-built solutions like the NoiseTube software stack. Your Pi can run continuously, calculating LEQ values over various intervals, detecting peak events, and even performing frequency analysis to identify specific noise sources.
Integration with home automation platforms like Home Assistant or Node-RED enables sophisticated responses to noise events—automated recordings when thresholds exceed, notifications to your phone, or triggering white noise systems to mask unwanted sounds.
📊 Placement Strategies for Accurate Monitoring
Sensor location dramatically affects measurements. Indoor monitoring requires different approaches than outdoor placement, and strategic positioning ensures you capture representative data for your concerns.
For indoor measurements, position sensors away from reflective surfaces that create standing waves and acoustic distortions. Mount devices at ear height when seated or lying down, depending on whether you’re monitoring workspace or bedroom noise. Keep sensors at least one meter from walls and corners where bass frequencies accumulate.
Window placement captures outdoor noise before wall insulation attenuates it, providing the most direct measurement of external sources. However, window-mounted sensors may register inflated readings during windy conditions as air movement across the microphone creates turbulence noise.
Outdoor sensors require weatherproofing—at minimum, a protective housing that shields the microphone from rain while allowing sound to reach it unobstructed. Foam windscreens reduce wind noise without significantly affecting sound pressure measurements. Avoid placing outdoor sensors near vegetation that rustles or building corners that create wind turbulence.
Multi-Point Monitoring for Complete Coverage
A single sensor provides limited perspective. Deploying multiple units reveals how noise propagates through your property and identifies the most affected areas. A three-sensor setup might include bedroom, living area, and outdoor positions to compare internal versus external conditions.
Synchronized measurements from multiple locations help pinpoint noise sources through timing analysis. If all sensors detect a spike simultaneously, the source is distant or diffuse. Staggered detection suggests a local source, with timing differences indicating direction.
📈 Interpreting Your Data and Identifying Patterns
Raw decibel readings become actionable information through analysis and context. Collecting data over days or weeks reveals patterns invisible to subjective observation.
Create time-series graphs plotting sound levels against hours and days. Look for recurring spikes—perhaps a neighbor’s late-night entertainment or early-morning construction. Calculate average levels during sleep hours versus waking hours to quantify nighttime disturbances.
Compare your measurements against established guidelines. The EPA recommends outdoor residential daytime levels below 55 dBA and nighttime below 45 dBA. Indoor recommendations suggest 40 dBA maximum during day and 30 dBA at night for quality sleep. WHO guidelines are even stricter, particularly for nighttime noise.
| Environment | Daytime Limit (dBA) | Nighttime Limit (dBA) | Source |
|---|---|---|---|
| Residential Outdoor | 55 | 45 | EPA |
| Residential Indoor | 40 | 30 | WHO |
| Bedroom (Sleep) | — | 30 | WHO |
| School Classroom | 35 | — | WHO |
Duration matters as much as intensity. Brief spikes to 70 dBA are less problematic than sustained 60 dBA exposure. Calculate what percentage of time your environment exceeds various thresholds to assess cumulative impact.
🎯 Taking Action Based on Your Findings
Documented evidence transforms complaints into requests backed by objective data. When approaching neighbors, landlords, or authorities about noise issues, presenting timestamped measurements with clear explanations carries far more weight than subjective descriptions.
Start with the least confrontational approach. Share your findings with neighbors during a friendly conversation—many people genuinely don’t realize their activities disturb others. Visual graphs showing when noise peaks occur can lead to mutually agreeable solutions like adjusted schedules or volume reductions.
For rental situations, provide your landlord or property management with detailed reports including measurement methodology, data over multiple days, comparisons to regulatory standards, and specific requests for remediation. Most jurisdictions include quiet enjoyment clauses in rental agreements that documented noise violations breach.
Building an Official Noise Complaint
Municipal noise ordinances vary widely, but most include specific decibel limits, restricted hours, and complaint procedures. Research your local regulations—many cities publish noise codes online. Align your documentation with official measurement standards to strengthen your case.
When filing formal complaints, include calibration information demonstrating your measurement accuracy, multiple data samples showing patterns rather than isolated incidents, and correlation with specific sources when identifiable. Photographs, video recordings with visible sound meter readings, and neighbor corroboration all strengthen documentation.
Some jurisdictions require professional sound level meter readings for enforcement action. However, your DIY measurements can trigger official investigations where authorities deploy calibrated equipment. Your data establishes probable cause and provides investigators with timing information to witness violations directly.
🛡️ Complementary Strategies to Reclaim Your Peace
While monitoring and documentation address noise at its source, acoustic treatment and masking techniques provide immediate relief while longer-term solutions develop.
Sound absorption materials reduce interior noise by preventing sound wave reflection. Heavy curtains, acoustic panels, thick area rugs, and upholstered furniture all dampen reverberations. Focus treatment on first-reflection points where sound bounces off surfaces before reaching your ears.
Sound blocking increases the mass and density of barriers between you and noise sources. Adding mass-loaded vinyl to walls, installing door sweeps, sealing gaps around windows with acoustic caulk, and upgrading to laminated glass windows all reduce transmission. Even temporary solutions like heavy blankets over windows provide measurable improvement.
White noise and nature sound generators mask disturbing noises by raising the acoustic floor in a more pleasant manner. Your brain processes consistent ambient sound differently than intermittent disturbances, making intrusive noises less jarring. Smart systems can automatically adjust masking volume based on monitored ambient noise levels.
💡 Advanced DIY Monitoring Enhancements
Once your basic system operates reliably, several enhancements add capabilities approaching professional equipment.
Frequency analysis through Fast Fourier Transform (FFT) algorithms identifies dominant frequencies in recorded noise. Raspberry Pi systems handle FFT calculations easily, generating spectrograms that visualize how acoustic energy distributes across frequencies. This identification helps select targeted countermeasures—bass traps for low-frequency rumble, high-frequency absorption for traffic noise.
Automated event detection triggers recording only when sound exceeds thresholds, conserving storage while capturing evidence of specific violations. Sophisticated algorithms distinguish between brief spikes and sustained events, filtering irrelevant transients like door slams while logging prolonged disturbances.
GPS and compass integration in outdoor monitors creates noise maps showing how sound propagates across neighborhoods. Walking or driving with a portable logging unit reveals problem areas, quiet zones, and how geographic features affect acoustic environments.
Machine learning algorithms trained on labeled sound samples can automatically classify noise sources—identifying vehicle types, construction equipment, or specific animal sounds. While requiring more advanced programming skills, these systems transform raw data into semantic information about your acoustic environment.
🌍 Contributing to Broader Noise Awareness
Your DIY monitoring efforts can contribute to citizen science projects mapping noise pollution on a larger scale. Platforms like NoiseCapture and Hush City aggregate crowdsourced measurements into public databases that inform urban planning and policy decisions.
Sharing your designs, code, and experiences through maker communities helps others address their noise concerns. Open-source hardware projects thrive on collaborative improvement—your calibration techniques or weatherproofing solutions might solve problems others face.
Community noise monitoring campaigns gain traction when multiple residents document shared problems. Coordinating measurement efforts with neighbors generates comprehensive data that municipal authorities find harder to dismiss than individual complaints.
🔐 Privacy and Ethical Considerations
Sound monitoring devices raise legitimate privacy concerns, particularly when recording audio content rather than just measuring levels. Focus your monitoring on your own property and common areas where privacy expectations are reduced.
If recording actual audio for evidence purposes, understand local consent laws. Single-party consent jurisdictions allow you to record conversations you participate in, but monitoring others’ private conversations without permission may violate wiretapping statutes. Measuring decibel levels without recording audio content generally avoids these legal complications.
When sharing data publicly or with authorities, redact or anonymize information that might identify specific individuals beyond what’s necessary to address the noise issue. Focus on objective measurements and patterns rather than personal details about neighbors.

🎓 Resources for Continued Learning
Expanding your acoustic monitoring expertise opens doors to fascinating intersections of electronics, data science, and environmental advocacy. Online communities like the Arduino and Raspberry Pi forums include active discussions about sound projects with code samples and troubleshooting advice.
Academic resources from architectural acoustics and environmental engineering fields provide deeper understanding of sound propagation, measurement standards, and mitigation techniques. Many universities publish course materials freely online covering noise control fundamentals.
Professional organizations like the Acoustical Society of America offer educational resources and publications accessible to interested amateurs. Understanding the science behind measurements enhances your credibility when presenting findings to officials or landlords.
Taking control of your acoustic environment begins with understanding what you’re experiencing. DIY sound monitoring transforms subjective annoyance into objective data, empowering evidence-based conversations with neighbors and authorities. Whether you start with a smartphone app or build a comprehensive sensor network, measuring noise is the first step toward reclaiming your peace. The tools are accessible, the technology is proven, and your right to a reasonable acoustic environment deserves defense with the same rigor you’d apply to any other environmental health concern.