Precision instruments demand perfect conditions, yet environmental factors constantly challenge accuracy. Understanding these invisible threats is essential for maintaining reliable measurements across all industries. 🎯
The Hidden Enemy: Temperature’s Impact on Measurement Accuracy
Temperature stands as one of the most pervasive environmental factors affecting precision instruments and calibration processes. When materials expand or contract due to thermal changes, even microscopic alterations can cascade into significant measurement errors. Metal components in measuring devices expand when heated and contract when cooled, directly impacting the dimensional accuracy of rulers, calipers, and sophisticated coordinate measuring machines.
Consider a steel gauge block at 20°C (68°F), the internationally recognized calibration temperature. If this same block experiences a temperature increase to 30°C (86°F), the thermal expansion coefficient of steel—approximately 11.5 micrometers per meter per degree Celsius—will cause dimensional changes that render precise measurements unreliable. For high-precision applications requiring micrometer or nanometer accuracy, even fractional degree variations become catastrophic.
Electronic instrumentation faces equally challenging temperature-related obstacles. Resistors, capacitors, and semiconductor components all exhibit temperature-dependent behavior. Voltage references drift, amplifier gains shift, and analog-to-digital converters introduce errors as temperatures fluctuate. Many precision instruments specify operating temperature ranges and temperature coefficients, yet real-world conditions frequently push equipment beyond these comfortable boundaries.
Thermal Soaking: A Critical but Often Overlooked Step
Professional metrologists emphasize thermal soaking—allowing instruments and workpieces to stabilize at ambient temperature before measurement. This process can require hours or even days for large components with significant thermal mass. Rushing this stabilization period guarantees compromised results, yet production pressures often force premature measurements.
Temperature gradients within a single component create additional complications. A part recently removed from machining might have a warm exterior but cooler core, creating dimensional inconsistencies that change over time. Similarly, instruments positioned near heat sources, windows, or air conditioning vents experience localized temperature variations that invalidate calibration assumptions.
Humidity’s Subtle but Devastating Effects 💧
Moisture in the air affects precision equipment through multiple mechanisms, many of which remain invisible until serious damage occurs. Hygroscopic materials absorb water vapor, changing their dimensions and mechanical properties. Certain plastics, composites, and even some metals demonstrate measurable dimensional changes as relative humidity fluctuates between dry and saturated conditions.
Electronic circuits suffer particularly severe consequences from humidity exposure. Water vapor facilitates corrosion of circuit board traces, component leads, and connector contacts. Even small amounts of oxidation increase electrical resistance, creating voltage drops and signal degradation that compromise measurement accuracy. High humidity environments accelerate these electrochemical processes, with condensation representing an acute threat when temperature drops below the dew point.
Optical instruments face their own humidity challenges. Lens coatings can degrade, glass surfaces may fog, and moisture infiltration into sealed assemblies causes irreversible damage. Interferometers and laser measurement systems depend on precise optical path lengths through air, and changing humidity alters the refractive index of air itself, introducing systematic errors into dimensional measurements.
The Condensation Catastrophe
When warm, humid air encounters cold surfaces, condensation forms immediately. Moving calibrated instruments from air-conditioned laboratories into humid production environments risks condensation on critical surfaces. This moisture layer can cause immediate measurement failures, corrosion initiation, and permanent damage to sensitive components. Proper acclimatization procedures require controlled temperature transitions and adequate stabilization time before equipment operation.
Atmospheric Pressure: The Forgotten Variable
Barometric pressure variations affect precision measurements in ways that many technicians never consider. While pressure changes at sea level typically range only between 980 and 1030 millibars, this seemingly small variation has measurable consequences for dimensional metrology, mass measurements, and flow calibrations.
Air density changes with atmospheric pressure, directly affecting buoyancy corrections in mass metrology. High-precision balances must account for the buoyant force exerted by displaced air on both the object being weighed and the reference weights. A pressure change of 30 millibars can alter apparent mass by several milligrams for objects with significant volume, making uncorrected measurements unacceptable for reference standard calibrations.
Pneumatic instruments depend entirely on accurate pressure control and measurement. Calibrations performed at different atmospheric pressures yield different results unless corrections are applied. Altitude changes compound these effects—moving equipment from sea level to mile-high elevations without recalibration introduces systematic errors that invalidate measurement results.
Vibration: The Precision Killer 📳
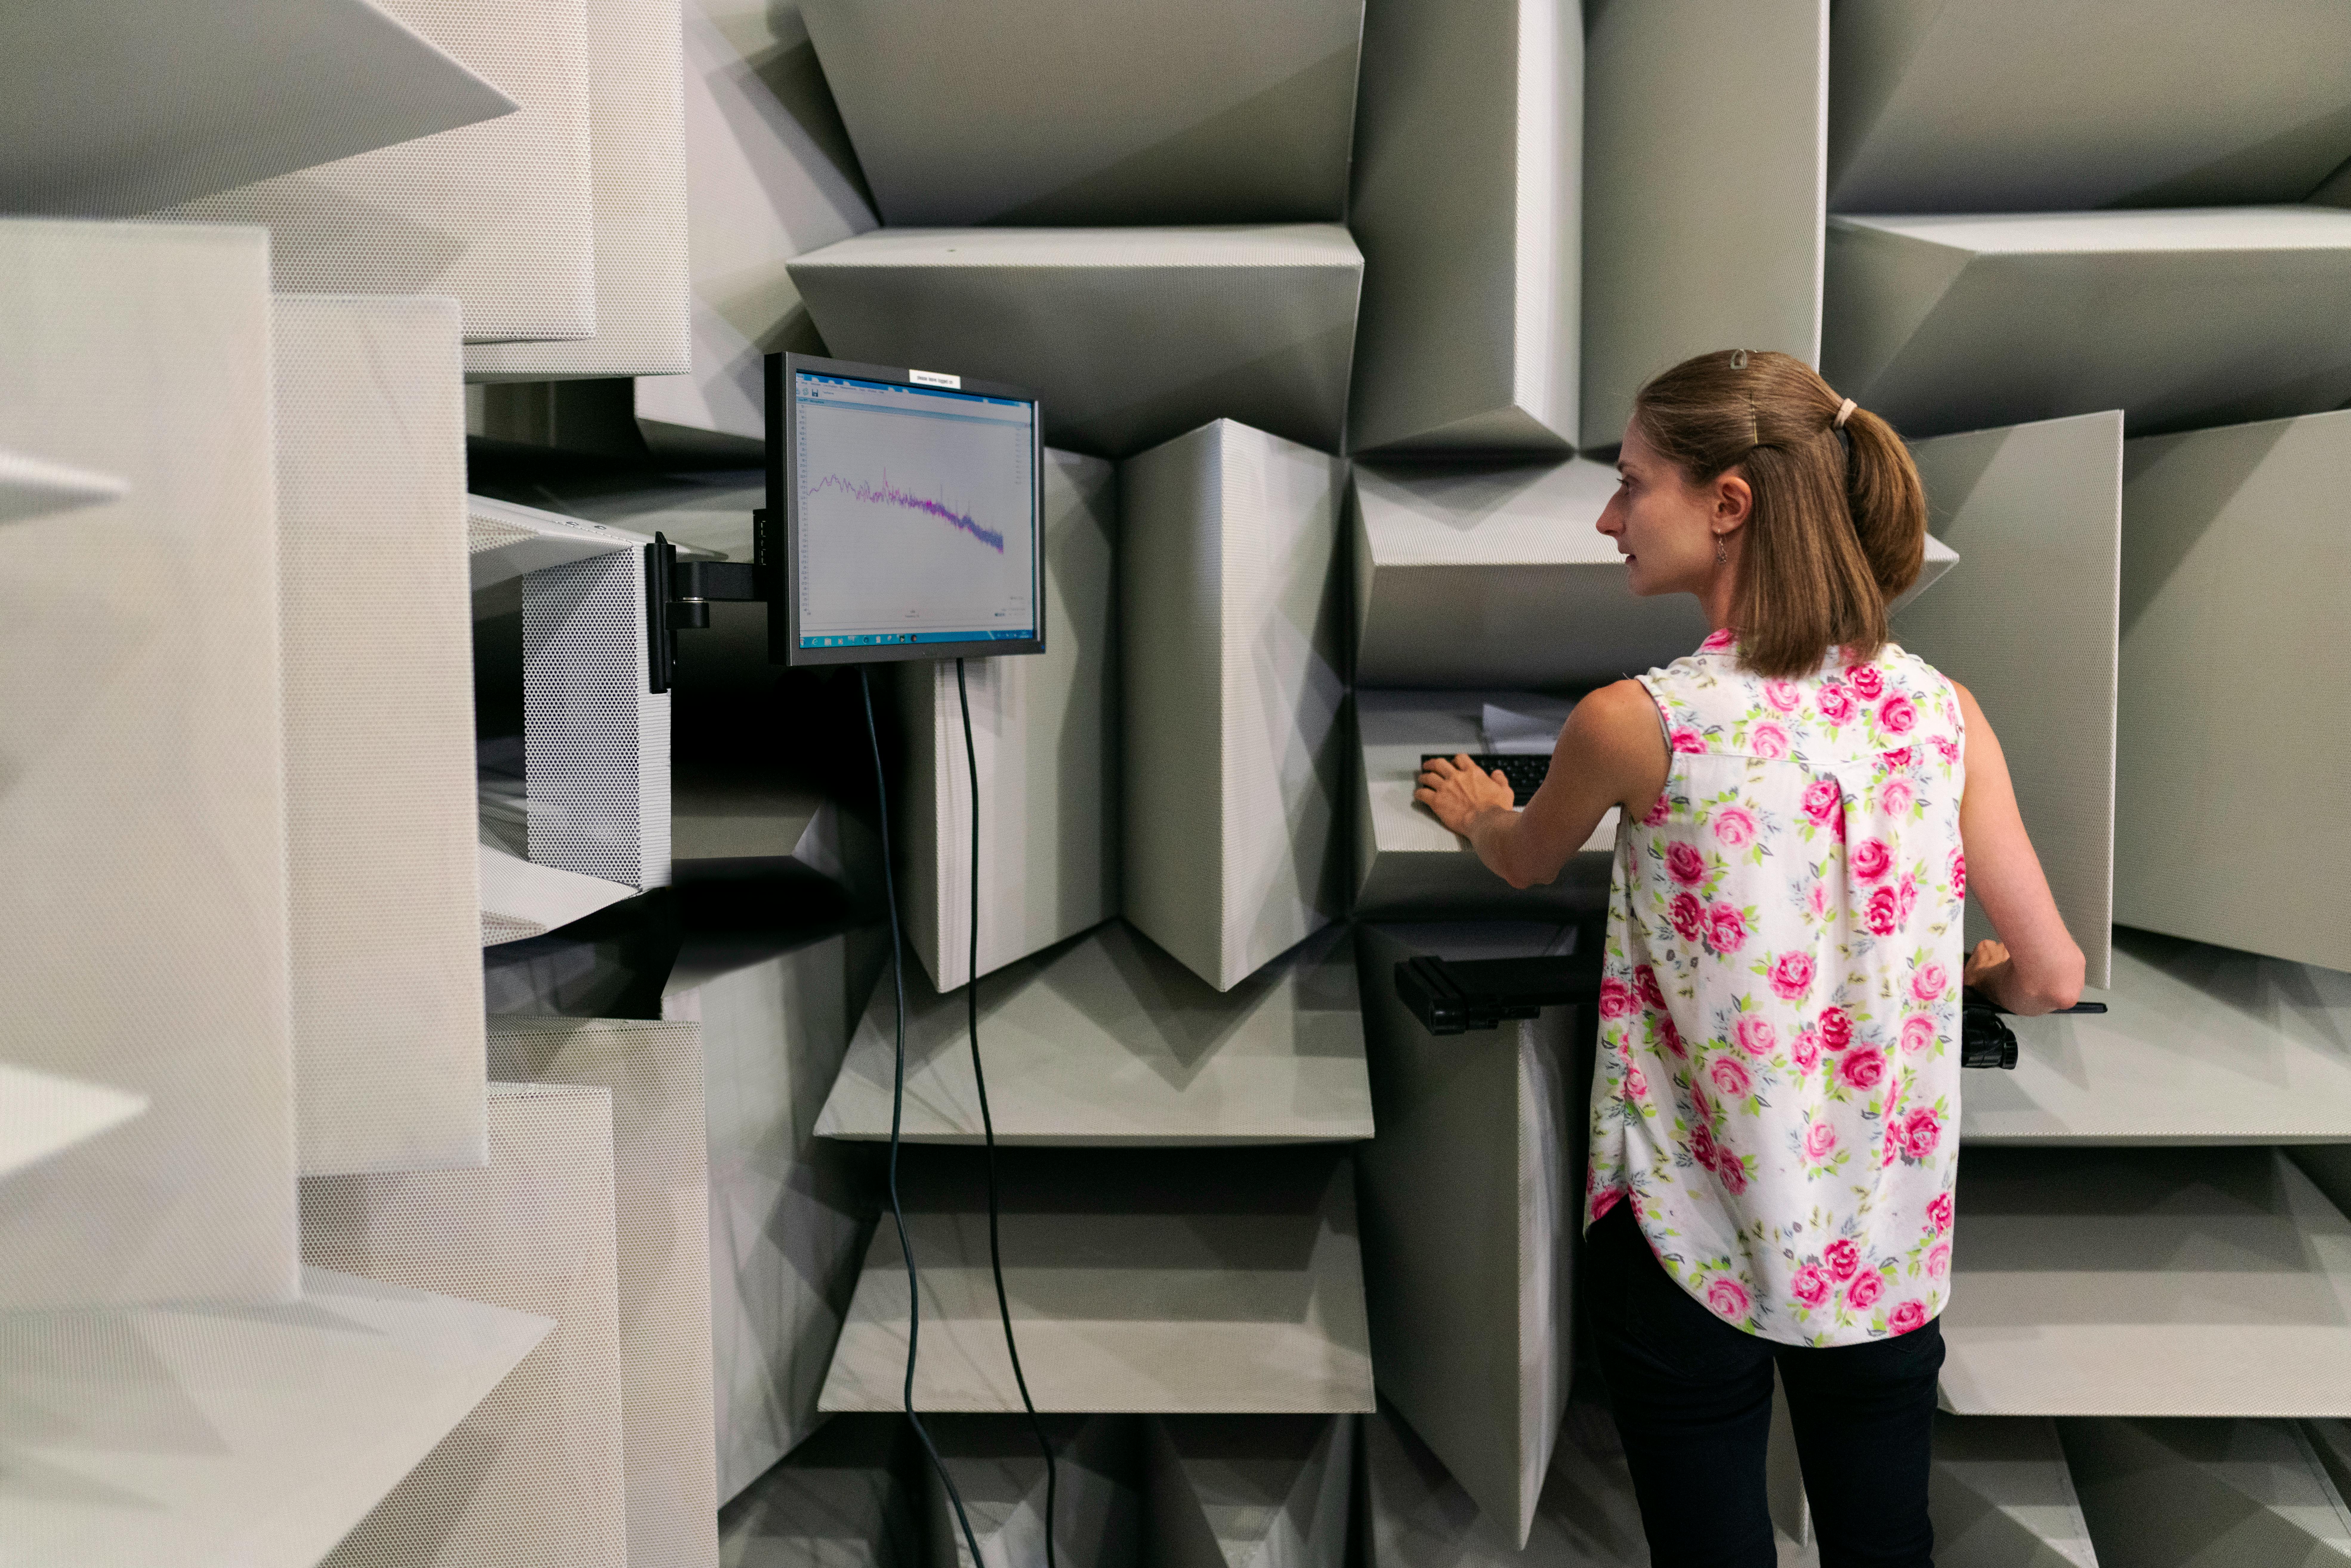
Mechanical vibrations represent an insidious environmental factor that degrades measurement precision through multiple pathways. High-frequency vibrations introduce noise into electronic signals, blur optical measurements, and cause physical displacement of measurement probes. Even vibrations below human perception thresholds can compromise nanometer-scale measurements.
Sources of problematic vibrations include nearby machinery, vehicular traffic, building mechanical systems, and even human footsteps. Precision measurement laboratories invest heavily in vibration isolation systems—specialized tables, pneumatic isolators, and even separate building foundations disconnected from surrounding structures.
Long-term vibration exposure causes additional problems beyond immediate measurement noise. Mechanical wear accelerates, fasteners gradually loosen, and structural alignments drift. Instruments that initially met calibration specifications slowly degrade until performance becomes unacceptable. Regular recalibration catches these drift problems, but understanding vibration sources enables preventive measures that extend equipment life.
Frequency Matters: Resonance Amplification
Vibration damage depends not just on amplitude but frequency. Every mechanical structure has natural resonant frequencies where even small oscillations amplify dramatically. A measurement system might tolerate certain vibration frequencies without issue while suffering severe disruption from others. Identifying and avoiding resonant frequencies requires careful system characterization and environmental monitoring.
Electromagnetic Interference: The Invisible Disruptor ⚡
Modern precision instruments rely heavily on electronic sensors, amplifiers, and digital signal processing—all vulnerable to electromagnetic interference (EMI). Radio frequency emissions from wireless devices, power line harmonics, switching power supplies, and nearby electrical equipment inject noise into sensitive measurement circuits, corrupting data and reducing effective resolution.
Shielding provides primary defense against EMI, but imperfect shielding, cable routing errors, and ground loops create pathways for interference injection. High-impedance sensor connections prove particularly susceptible to electromagnetic pickup, with tiny induced currents generating significant voltage signals that masquerade as legitimate measurements.
Magnetic fields present special challenges for certain measurement technologies. Electron beam systems, some optical instruments, and magnetic resonance equipment require careful magnetic shielding and field compensation. Earth’s magnetic field itself, though weak, can influence sensitive measurements unless proper precautions are implemented.
Dust, Contamination, and Air Quality Concerns
Airborne particles compromise precision measurements through mechanical interference and surface contamination. Dust settling on optical surfaces scatters light, particles trapped between measurement surfaces introduce dimensional errors, and contamination on electrical contacts increases resistance. Clean room protocols exist specifically to control particulate contamination in critical measurement environments.
Chemical contamination presents equally serious threats. Volatile organic compounds can deposit films on surfaces, changing optical properties and dimensional characteristics. Corrosive gases attack metal components, degrading performance over time. Even seemingly clean environments contain enough airborne contamination to affect long-term measurement stability.
Oil mist from machining operations, solvent vapors from cleaning processes, and combustion products from nearby traffic all compromise air quality in industrial measurement facilities. Proper ventilation, filtration, and environmental monitoring help maintain acceptable conditions, but complete elimination of airborne threats remains impossible in most practical settings.
Gravity Gradients and Leveling Requirements
Precision measurements often assume perfect levelness and uniform gravitational fields. Reality rarely cooperates with these assumptions. Building floors flex under load, foundations settle over time, and gravity itself varies slightly with location, elevation, and even nearby mass distributions.
Sensitive balances require careful leveling to ensure that gravitational force acts purely along the measurement axis. Tilt errors cause cosine errors in weight measurements—a one-degree tilt introduces a 0.015% error, which becomes significant for high-precision work. Electronic levels and gravitational sensors help maintain proper orientation, but thermal expansion, vibration, and structural settling constantly challenge levelness.
Gravity strength varies approximately 0.5% between equator and poles, and decreases with elevation at roughly 0.03% per 100 meters. Calibrations performed at one location and applied elsewhere without correction introduce systematic errors that compromise measurement validity. Professional metrology laboratories maintain detailed records of local gravitational acceleration for reference standard calibrations.
Mitigating Environmental Effects: Practical Strategies 🛠️
Understanding environmental threats represents only the first step toward maintaining calibration accuracy. Implementing effective countermeasures requires systematic approaches combining environmental control, measurement corrections, and regular verification procedures.
Environmental Monitoring and Documentation
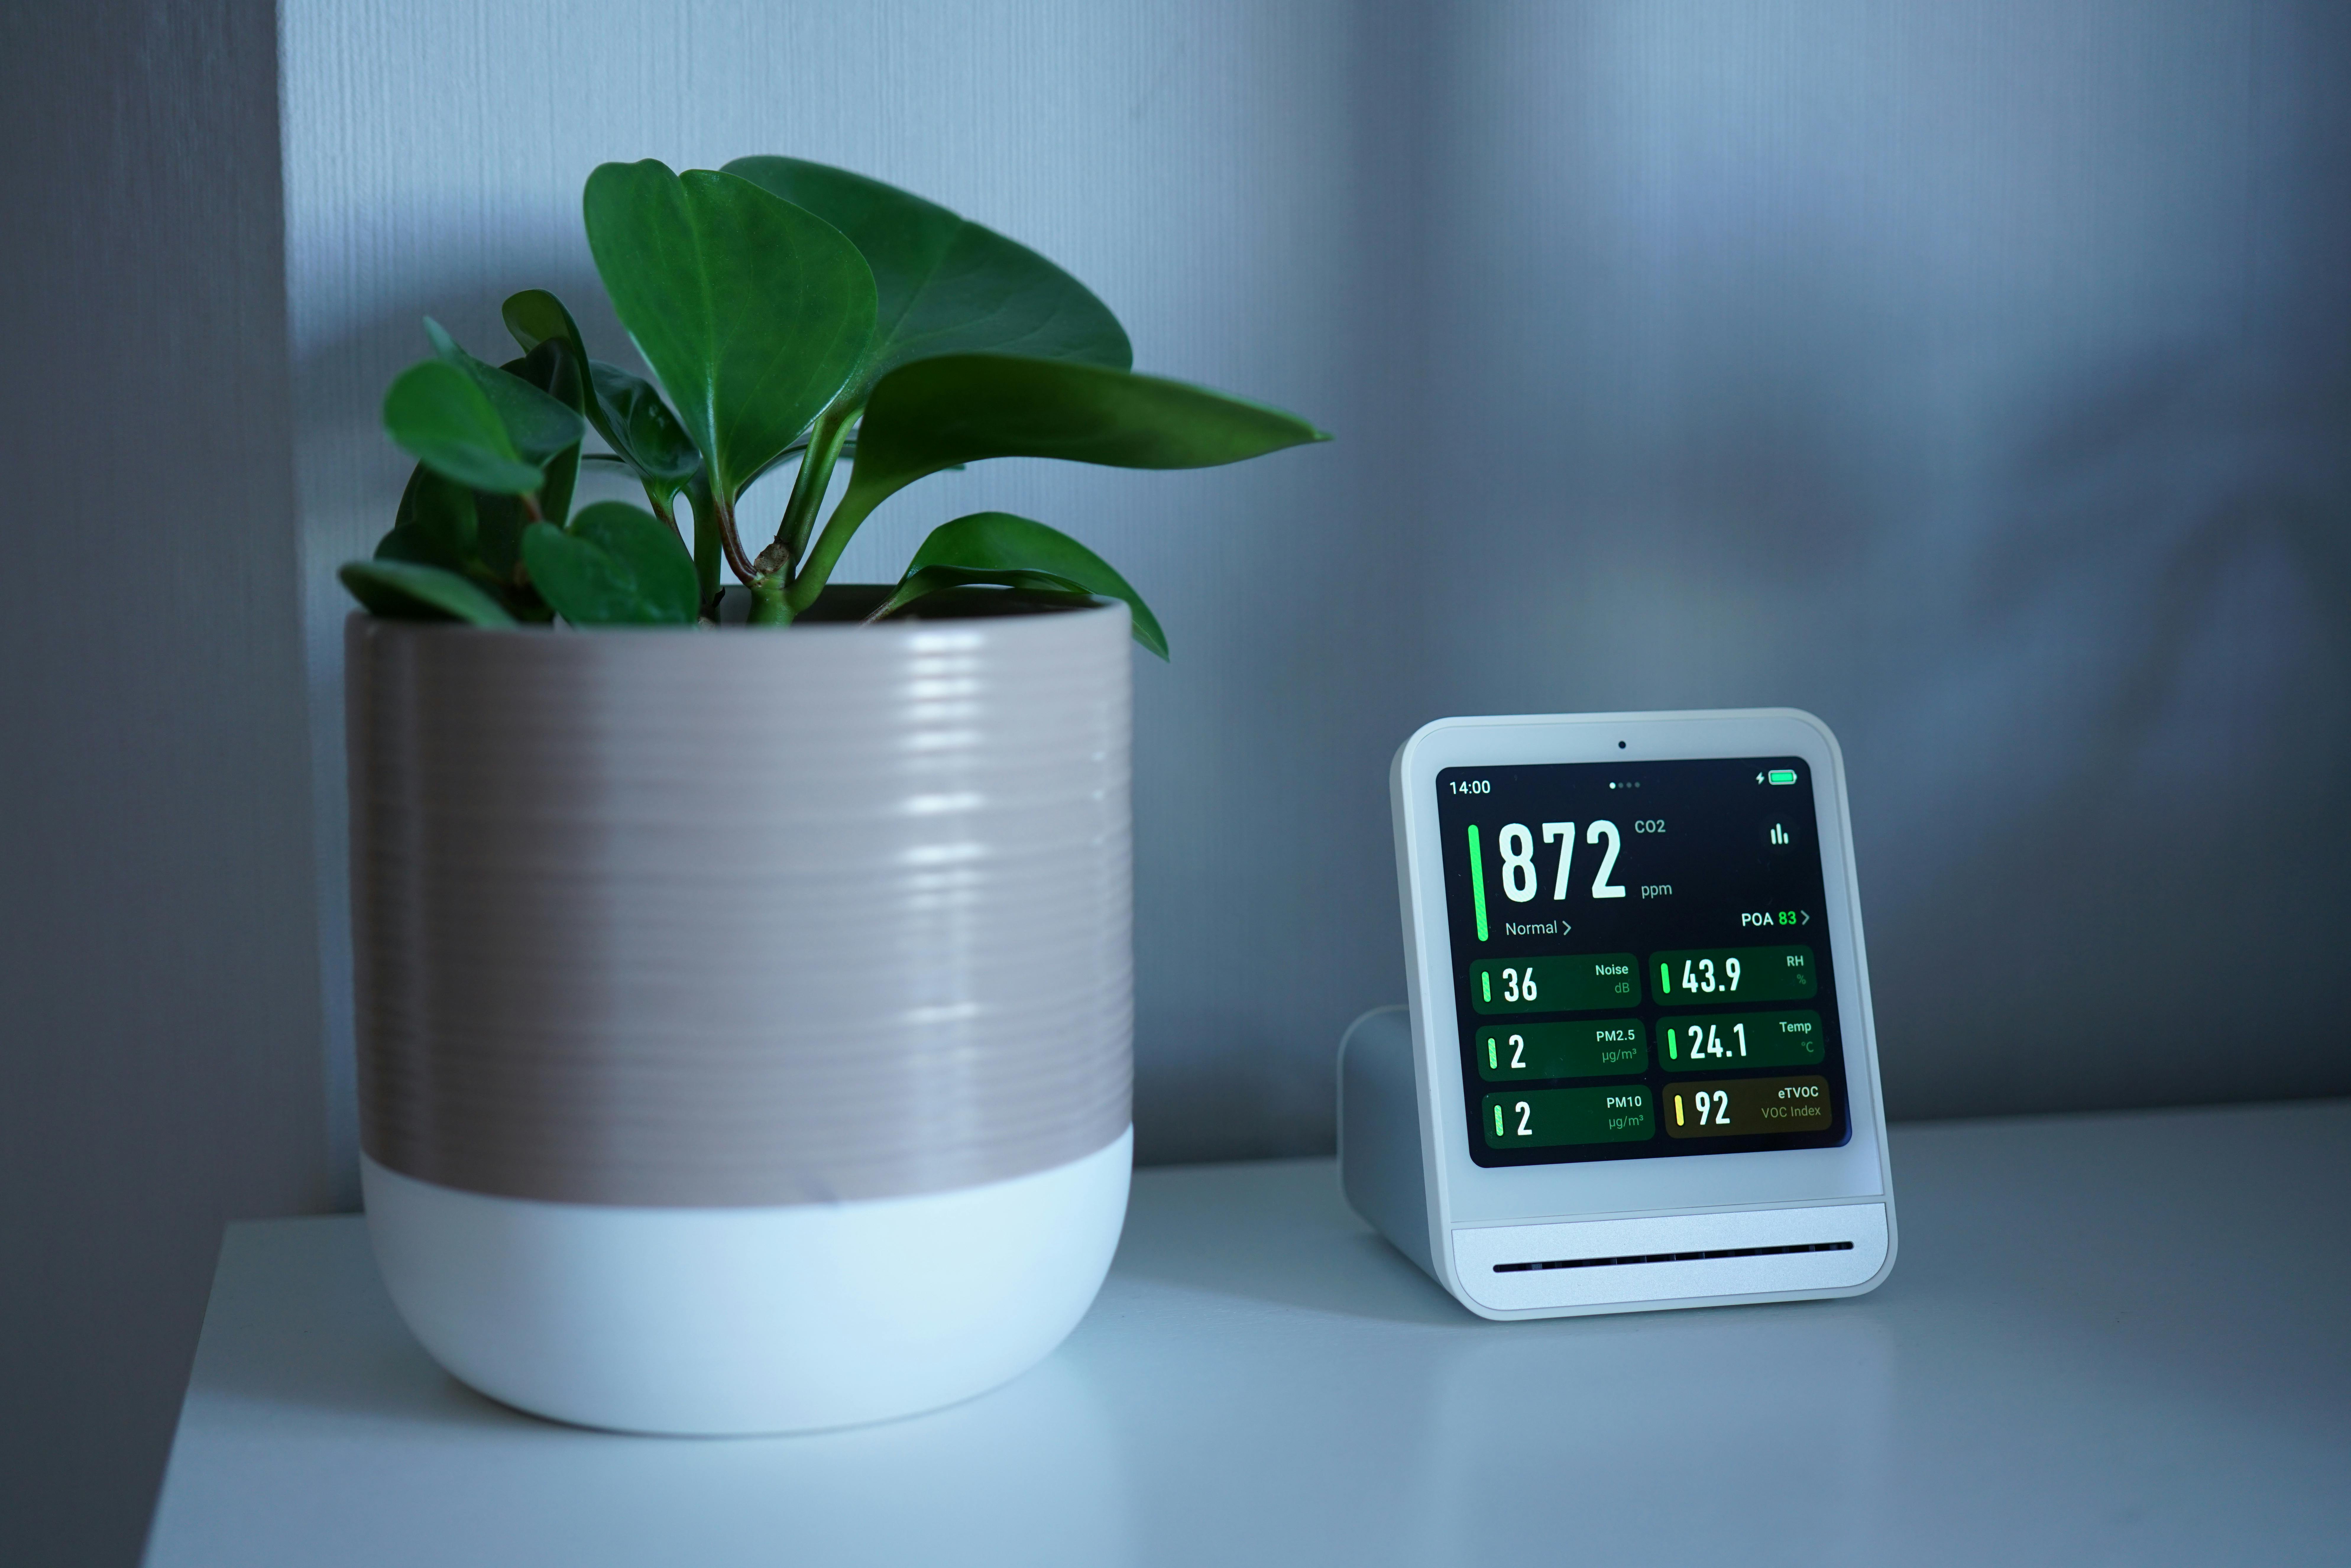
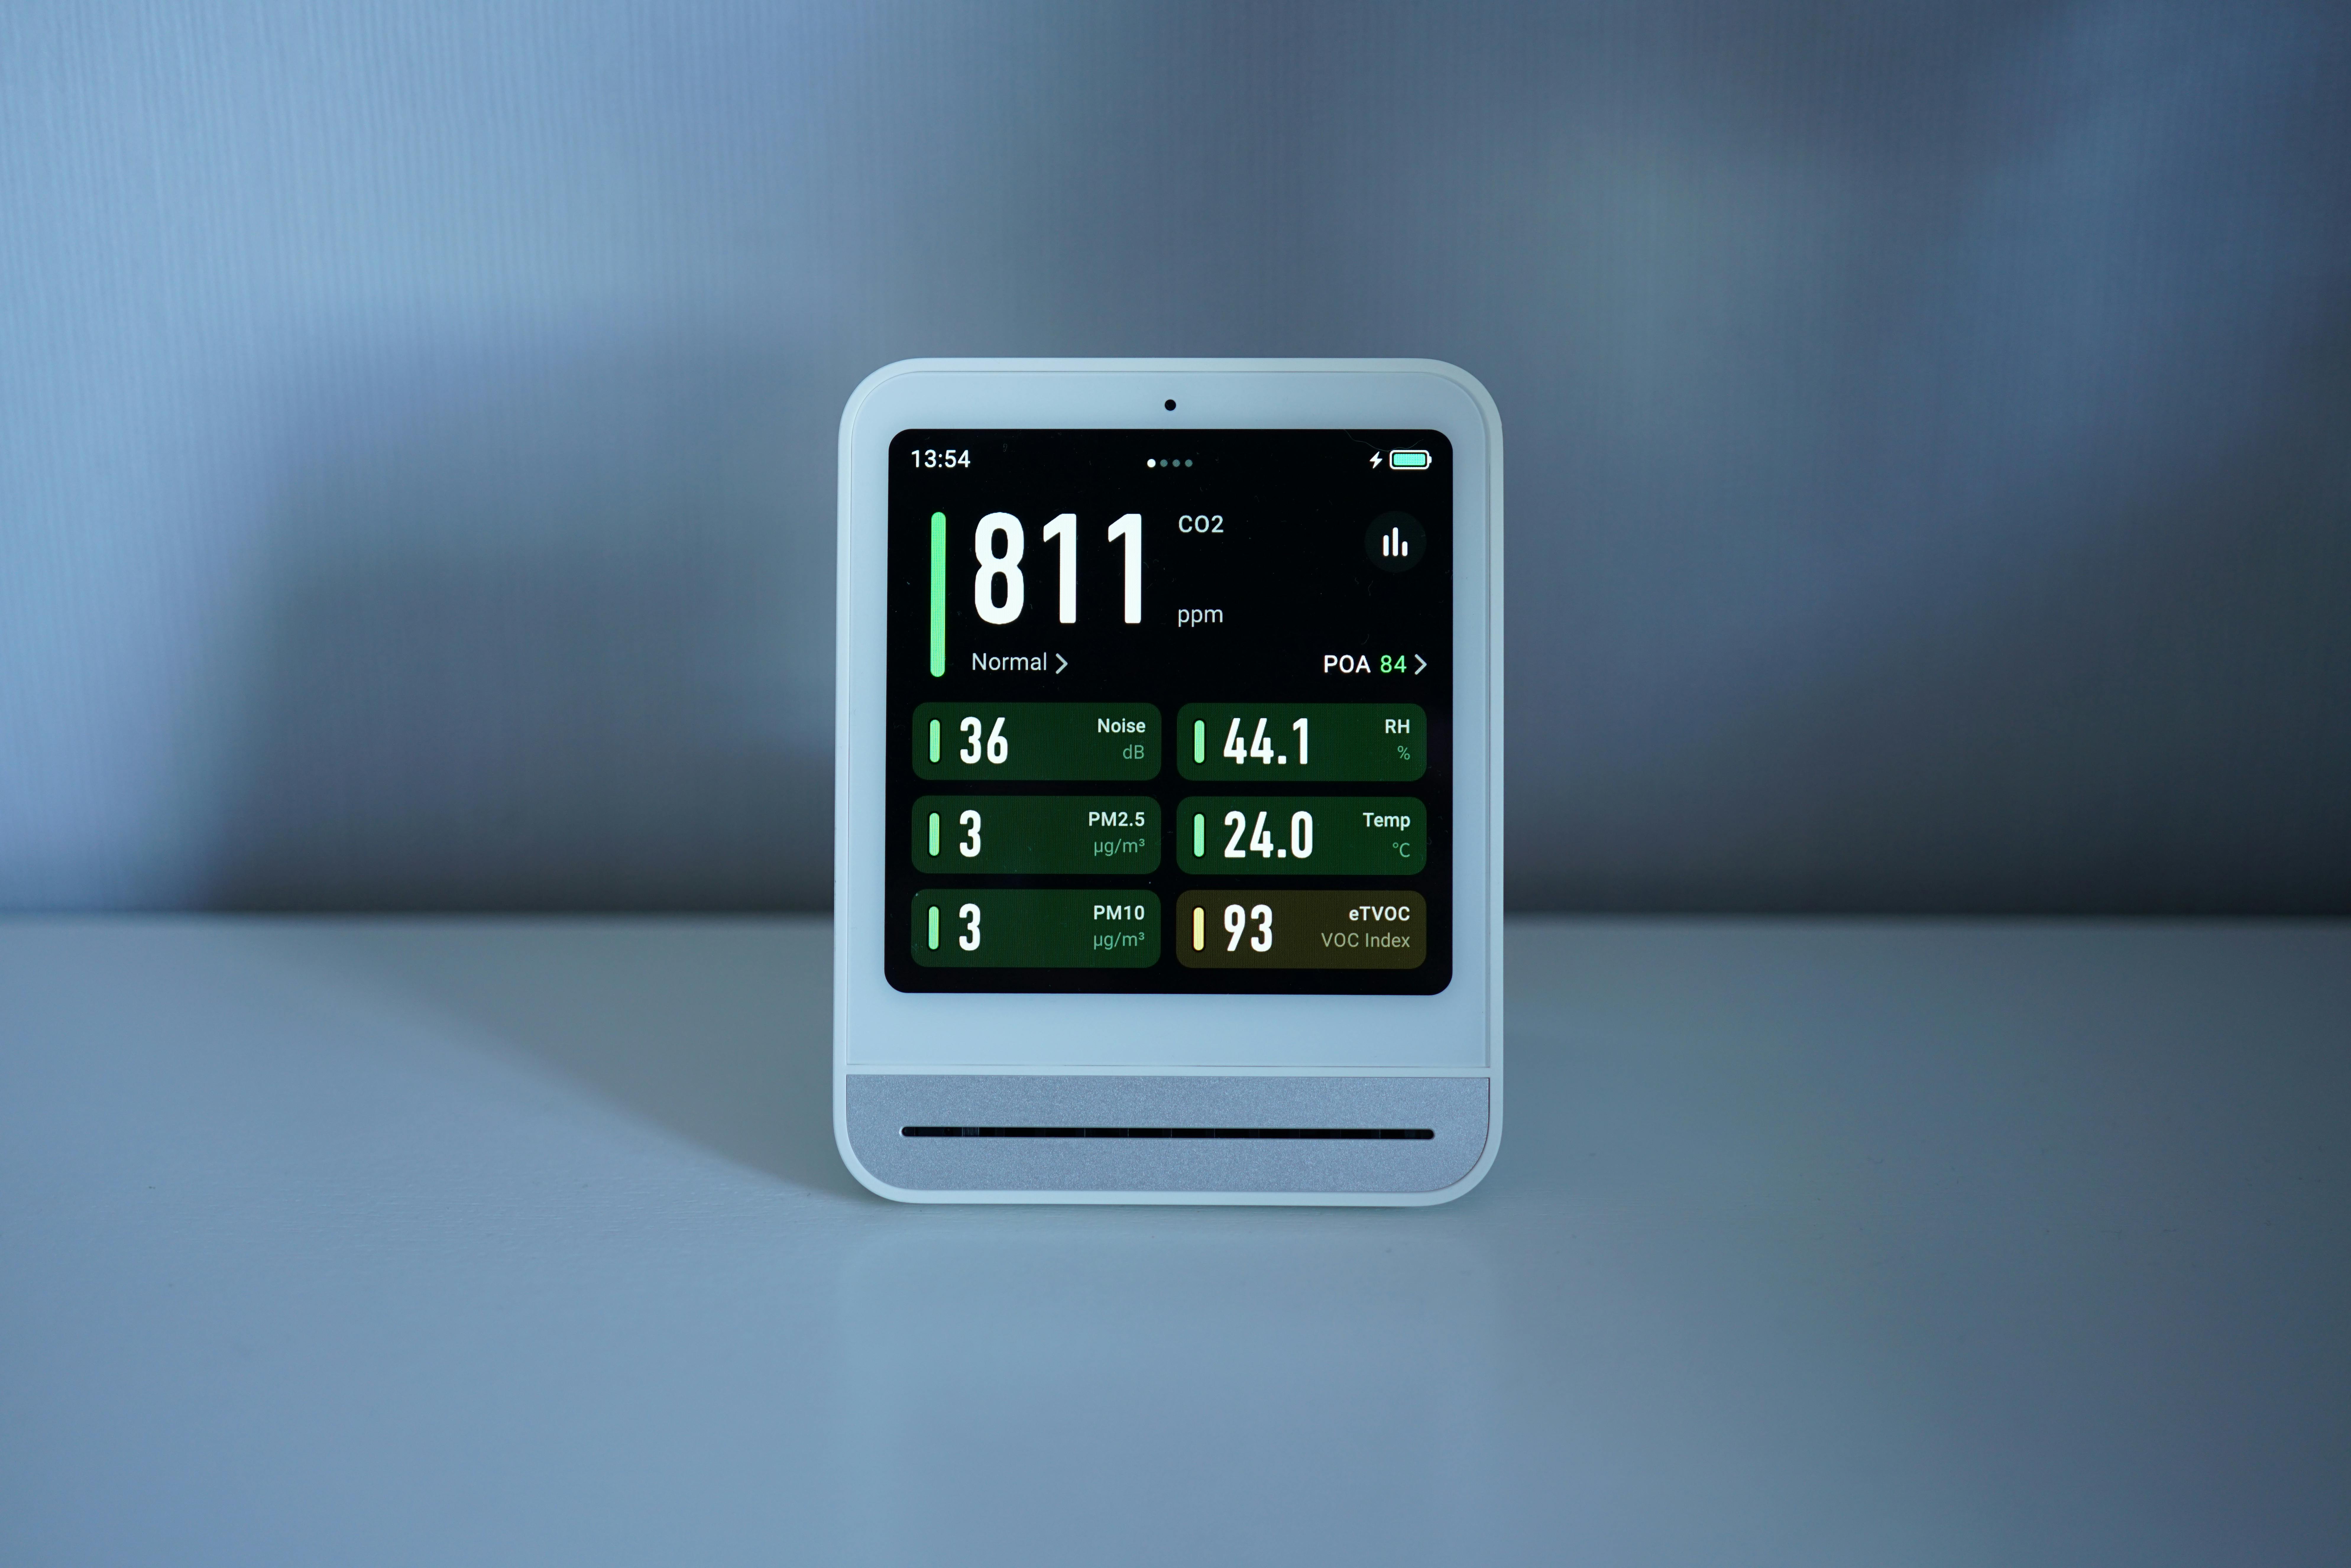
Comprehensive environmental monitoring provides essential data for identifying problems and applying corrections. Temperature, humidity, and barometric pressure sensors should log conditions continuously throughout measurement facilities. Modern data logging systems enable correlation between environmental changes and measurement anomalies, revealing cause-and-effect relationships that guide improvement efforts.
Documentation of environmental conditions during calibration establishes traceability and enables validity assessment. Calibration certificates increasingly include environmental data, allowing users to evaluate whether their operating conditions match calibration conditions. Significant deviations may require correction factors or trigger recalibration requirements.
Environmental Control Systems
Precision measurement laboratories invest heavily in environmental control systems maintaining stable temperature, humidity, and air quality. Specifications typically target 20°C ± 1°C temperature control with humidity between 40-60% relative humidity. High-precision facilities achieve even tighter tolerances through sophisticated HVAC systems, thermal mass, and isolation from external disturbances.
Not all measurement activities can occur in controlled laboratory environments. Portable calibration equipment and field measurements face the full spectrum of environmental challenges. Understanding equipment specifications, applying appropriate corrections, and recognizing when conditions exceed acceptable limits become critical skills for field metrologists.
Correction Factors and Mathematical Compensation
Many environmental effects follow predictable patterns enabling mathematical correction. Temperature compensation algorithms adjust dimensional measurements based on material thermal expansion coefficients. Buoyancy corrections account for air density variations in mass metrology. Refractive index corrections compensate for atmospheric effects on optical path lengths.
Modern instruments increasingly incorporate automatic environmental corrections, using built-in sensors to adjust measurements in real-time. While convenient, these automatic corrections depend on proper sensor calibration and appropriate correction algorithms. Understanding the underlying principles remains essential for verifying correction validity and recognizing when automatic compensation fails.
Creating Your Environmental Management Plan 📋
Every organization performing precision measurements should develop a formal environmental management plan addressing site-specific challenges and equipment requirements. This plan should identify critical environmental parameters, establish monitoring procedures, define acceptable operating ranges, and specify corrective actions when conditions deviate from specifications.
Risk assessment forms the foundation of effective environmental management. Not all measurements require identical environmental control—routine inspections may tolerate broader ranges than reference standard calibrations. Allocating resources appropriately ensures critical measurements receive necessary environmental control while avoiding excessive costs for less demanding applications.
Training personnel in environmental awareness amplifies the effectiveness of technical control measures. Technicians who understand how temperature, humidity, vibration, and contamination affect their measurements make better decisions about when conditions permit valid measurements and when environmental factors require correction or delay.
The Future of Environmental Compensation Technology
Advancing sensor technology, artificial intelligence, and interconnected systems promise improved environmental compensation capabilities. Smart instruments that continuously monitor multiple environmental parameters, apply sophisticated correction algorithms, and alert users to conditions exceeding acceptable limits represent the near-term future of precision measurement.
Machine learning algorithms can identify subtle correlations between environmental factors and measurement drift, enabling predictive corrections that improve accuracy beyond traditional compensation methods. Networked measurement systems sharing environmental data across facilities enable comparison, validation, and continuous improvement of environmental management practices.
Despite technological advances, fundamental physics remains unchanged. Temperature still expands materials, humidity still causes corrosion, and vibration still disturbs measurements. Technology provides better tools for managing these effects, but human understanding, vigilance, and proper procedures remain irreplaceable elements of precision measurement success.

Mastering the Balance Between Perfection and Practicality ⚖️
The calibration conundrum ultimately requires balancing ideal conditions against practical constraints. Perfect environmental control remains impossible in most real-world situations, yet measurements must continue. Success requires understanding which environmental factors most critically affect specific measurements, implementing cost-effective controls for those factors, and accepting appropriate uncertainty for remaining uncontrolled variables.
Measurement uncertainty budgets provide formal frameworks for quantifying environmental contributions to overall measurement uncertainty. By identifying and characterizing each uncertainty component, metrologists make informed decisions about where environmental improvements yield meaningful accuracy gains and where additional investment provides diminishing returns.
Regular calibration verification under actual operating conditions validates that environmental management strategies adequately control critical factors. Trending calibration results over time reveals gradual environmental effects that might otherwise escape notice until serious accuracy degradation occurs.
The most sophisticated instruments and rigorous procedures cannot overcome inadequate environmental management. Conversely, even modest equipment can deliver impressive performance when environmental factors receive appropriate attention. Understanding your calibration conundrum—the specific environmental challenges facing your measurements—empowers effective solutions that maintain precision despite the inevitable imperfections of real-world conditions. Success belongs to those who respect environmental factors while refusing to be defeated by them.
Toni Santos is an environmental sensor designer and air quality researcher specializing in the development of open-source monitoring systems, biosensor integration techniques, and the calibration workflows that ensure accurate environmental data. Through an interdisciplinary and hardware-focused lens, Toni investigates how communities can build reliable tools for measuring air pollution, biological contaminants, and environmental hazards — across urban spaces, indoor environments, and ecological monitoring sites. His work is grounded in a fascination with sensors not only as devices, but as carriers of environmental truth. From low-cost particulate monitors to VOC biosensors and multi-point calibration, Toni uncovers the technical and practical methods through which makers can validate their measurements against reference standards and regulatory benchmarks. With a background in embedded systems and environmental instrumentation, Toni blends circuit design with data validation protocols to reveal how sensors can be tuned to detect pollution, quantify exposure, and empower citizen science. As the creative mind behind Sylmarox, Toni curates illustrated build guides, open calibration datasets, and sensor comparison studies that democratize the technical foundations between hardware, firmware, and environmental accuracy. His work is a tribute to: The accessible measurement of Air Quality Module Design and Deployment The embedded systems of Biosensor Integration and Signal Processing The rigorous validation of Data Calibration and Correction The maker-driven innovation of DIY Environmental Sensor Communities Whether you're a hardware builder, environmental advocate, or curious explorer of open-source air quality tools, Toni invites you to discover the technical foundations of sensor networks — one module, one calibration curve, one measurement at a time.


