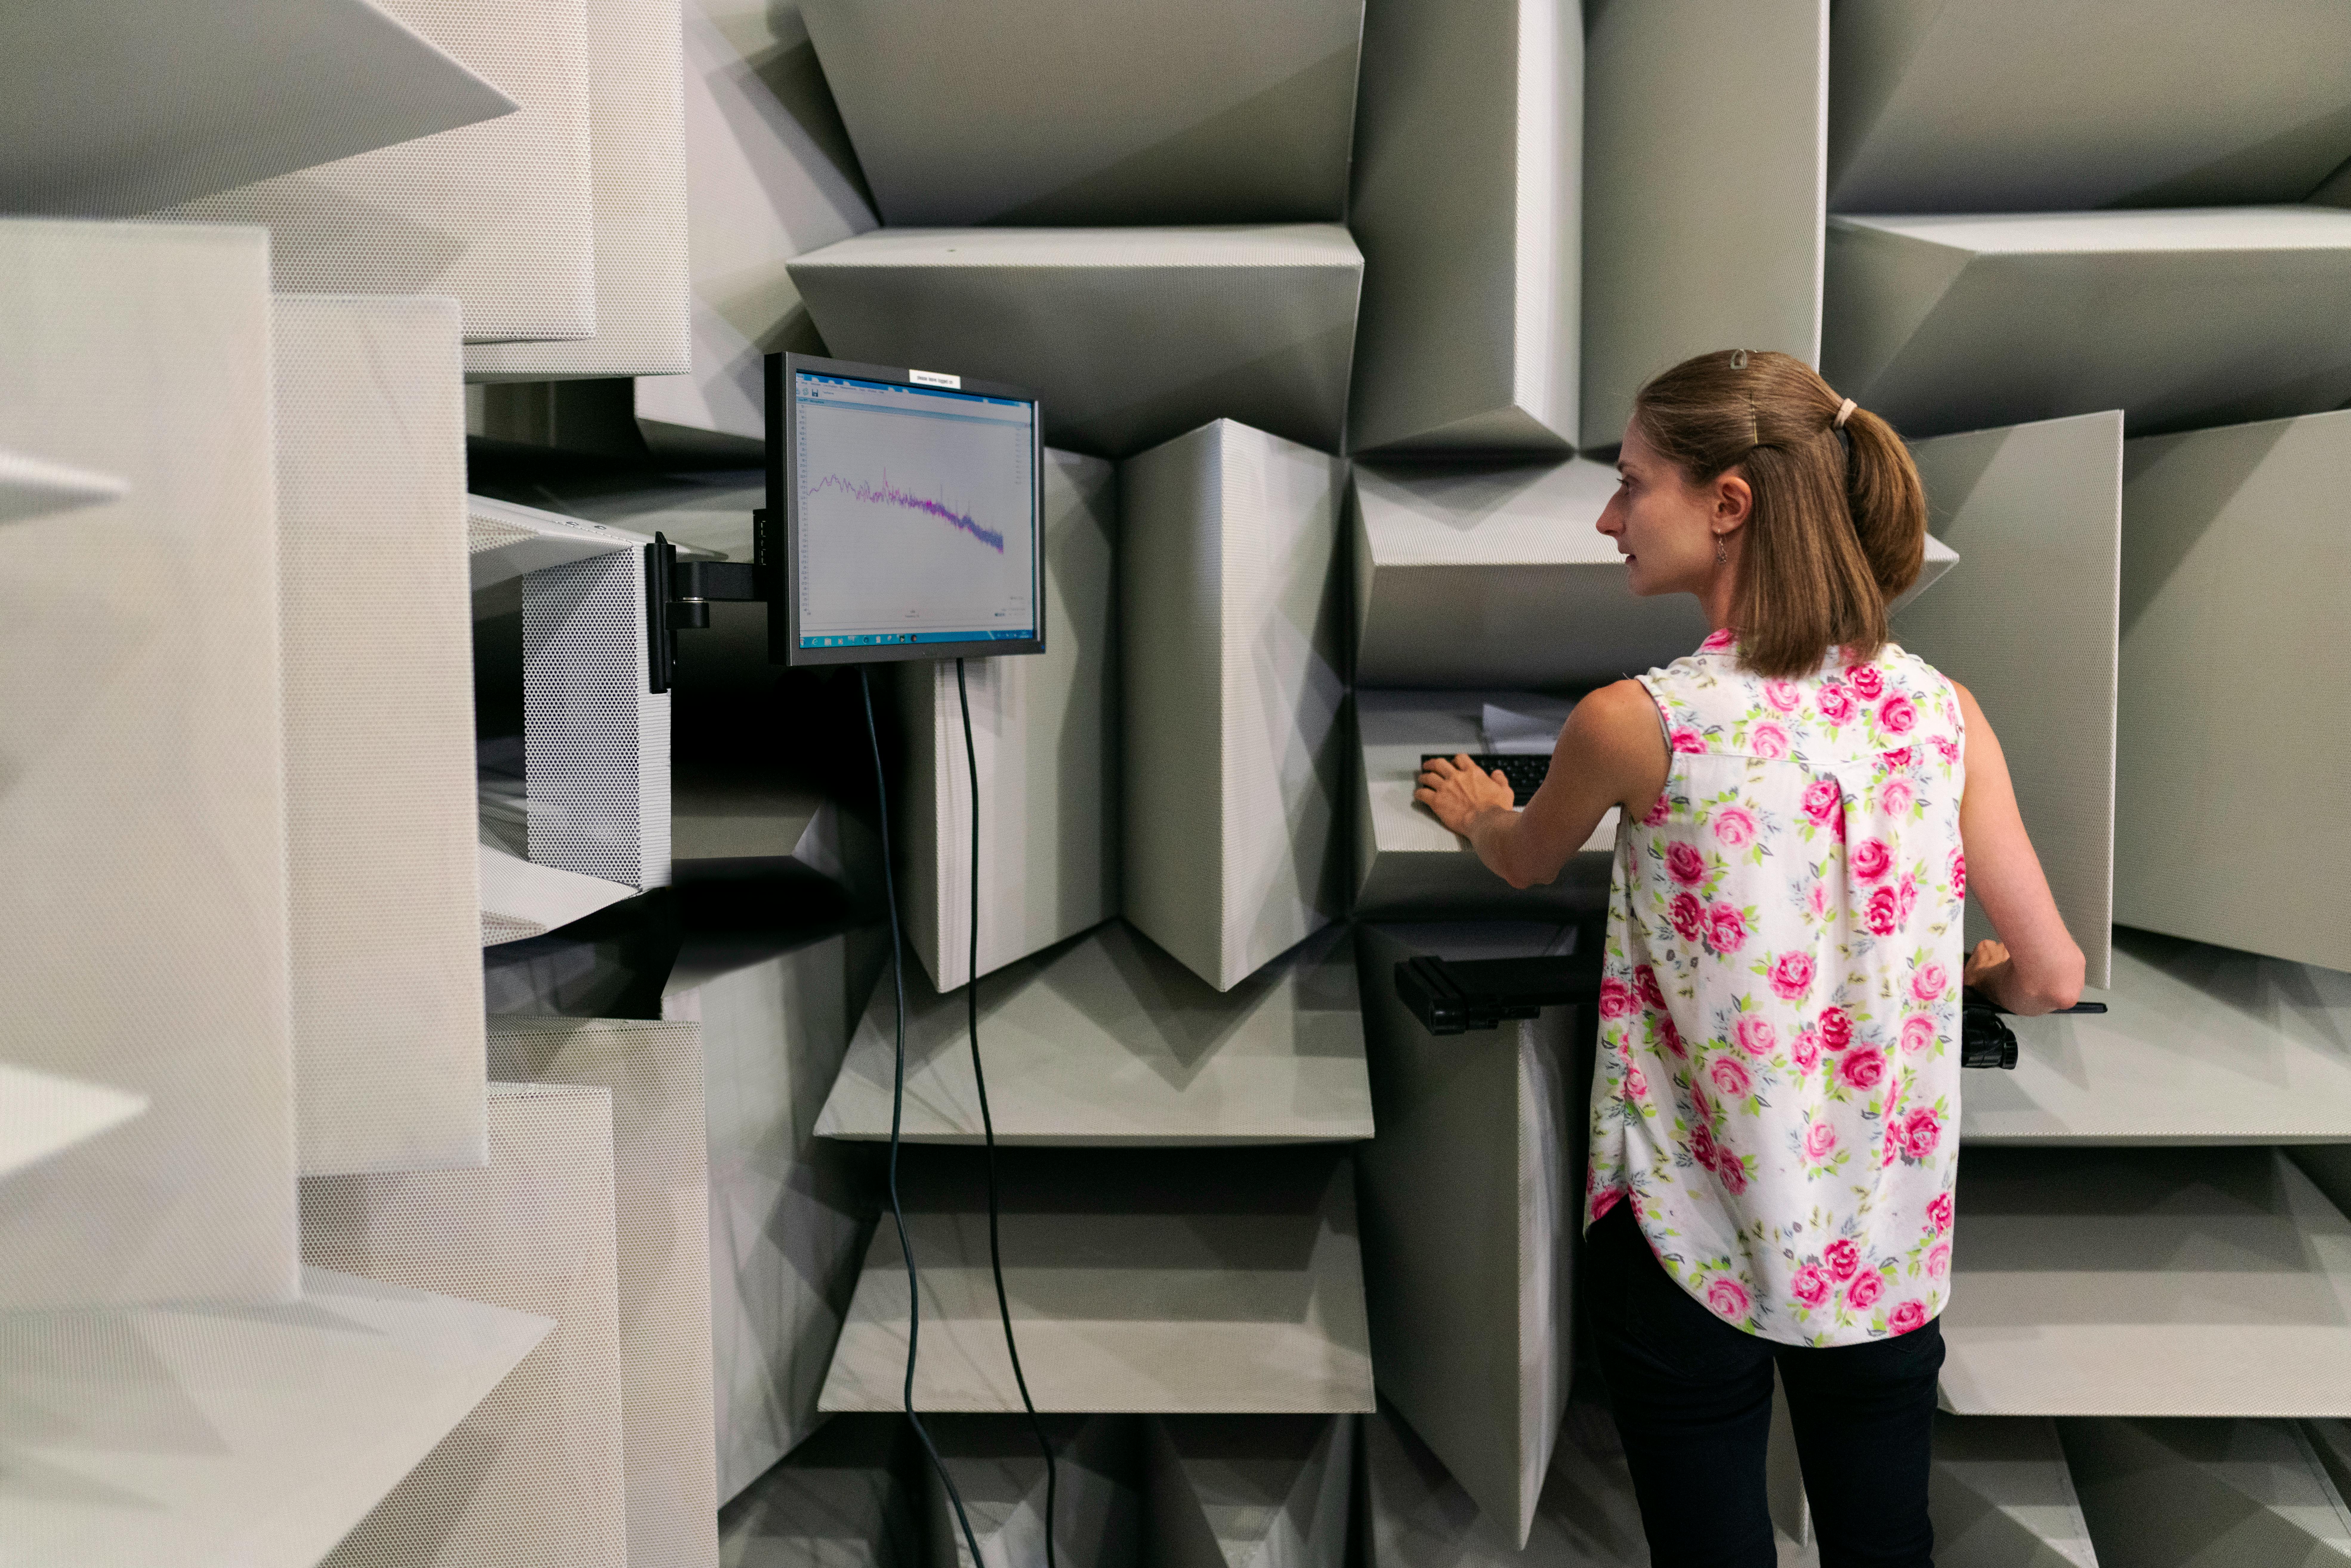
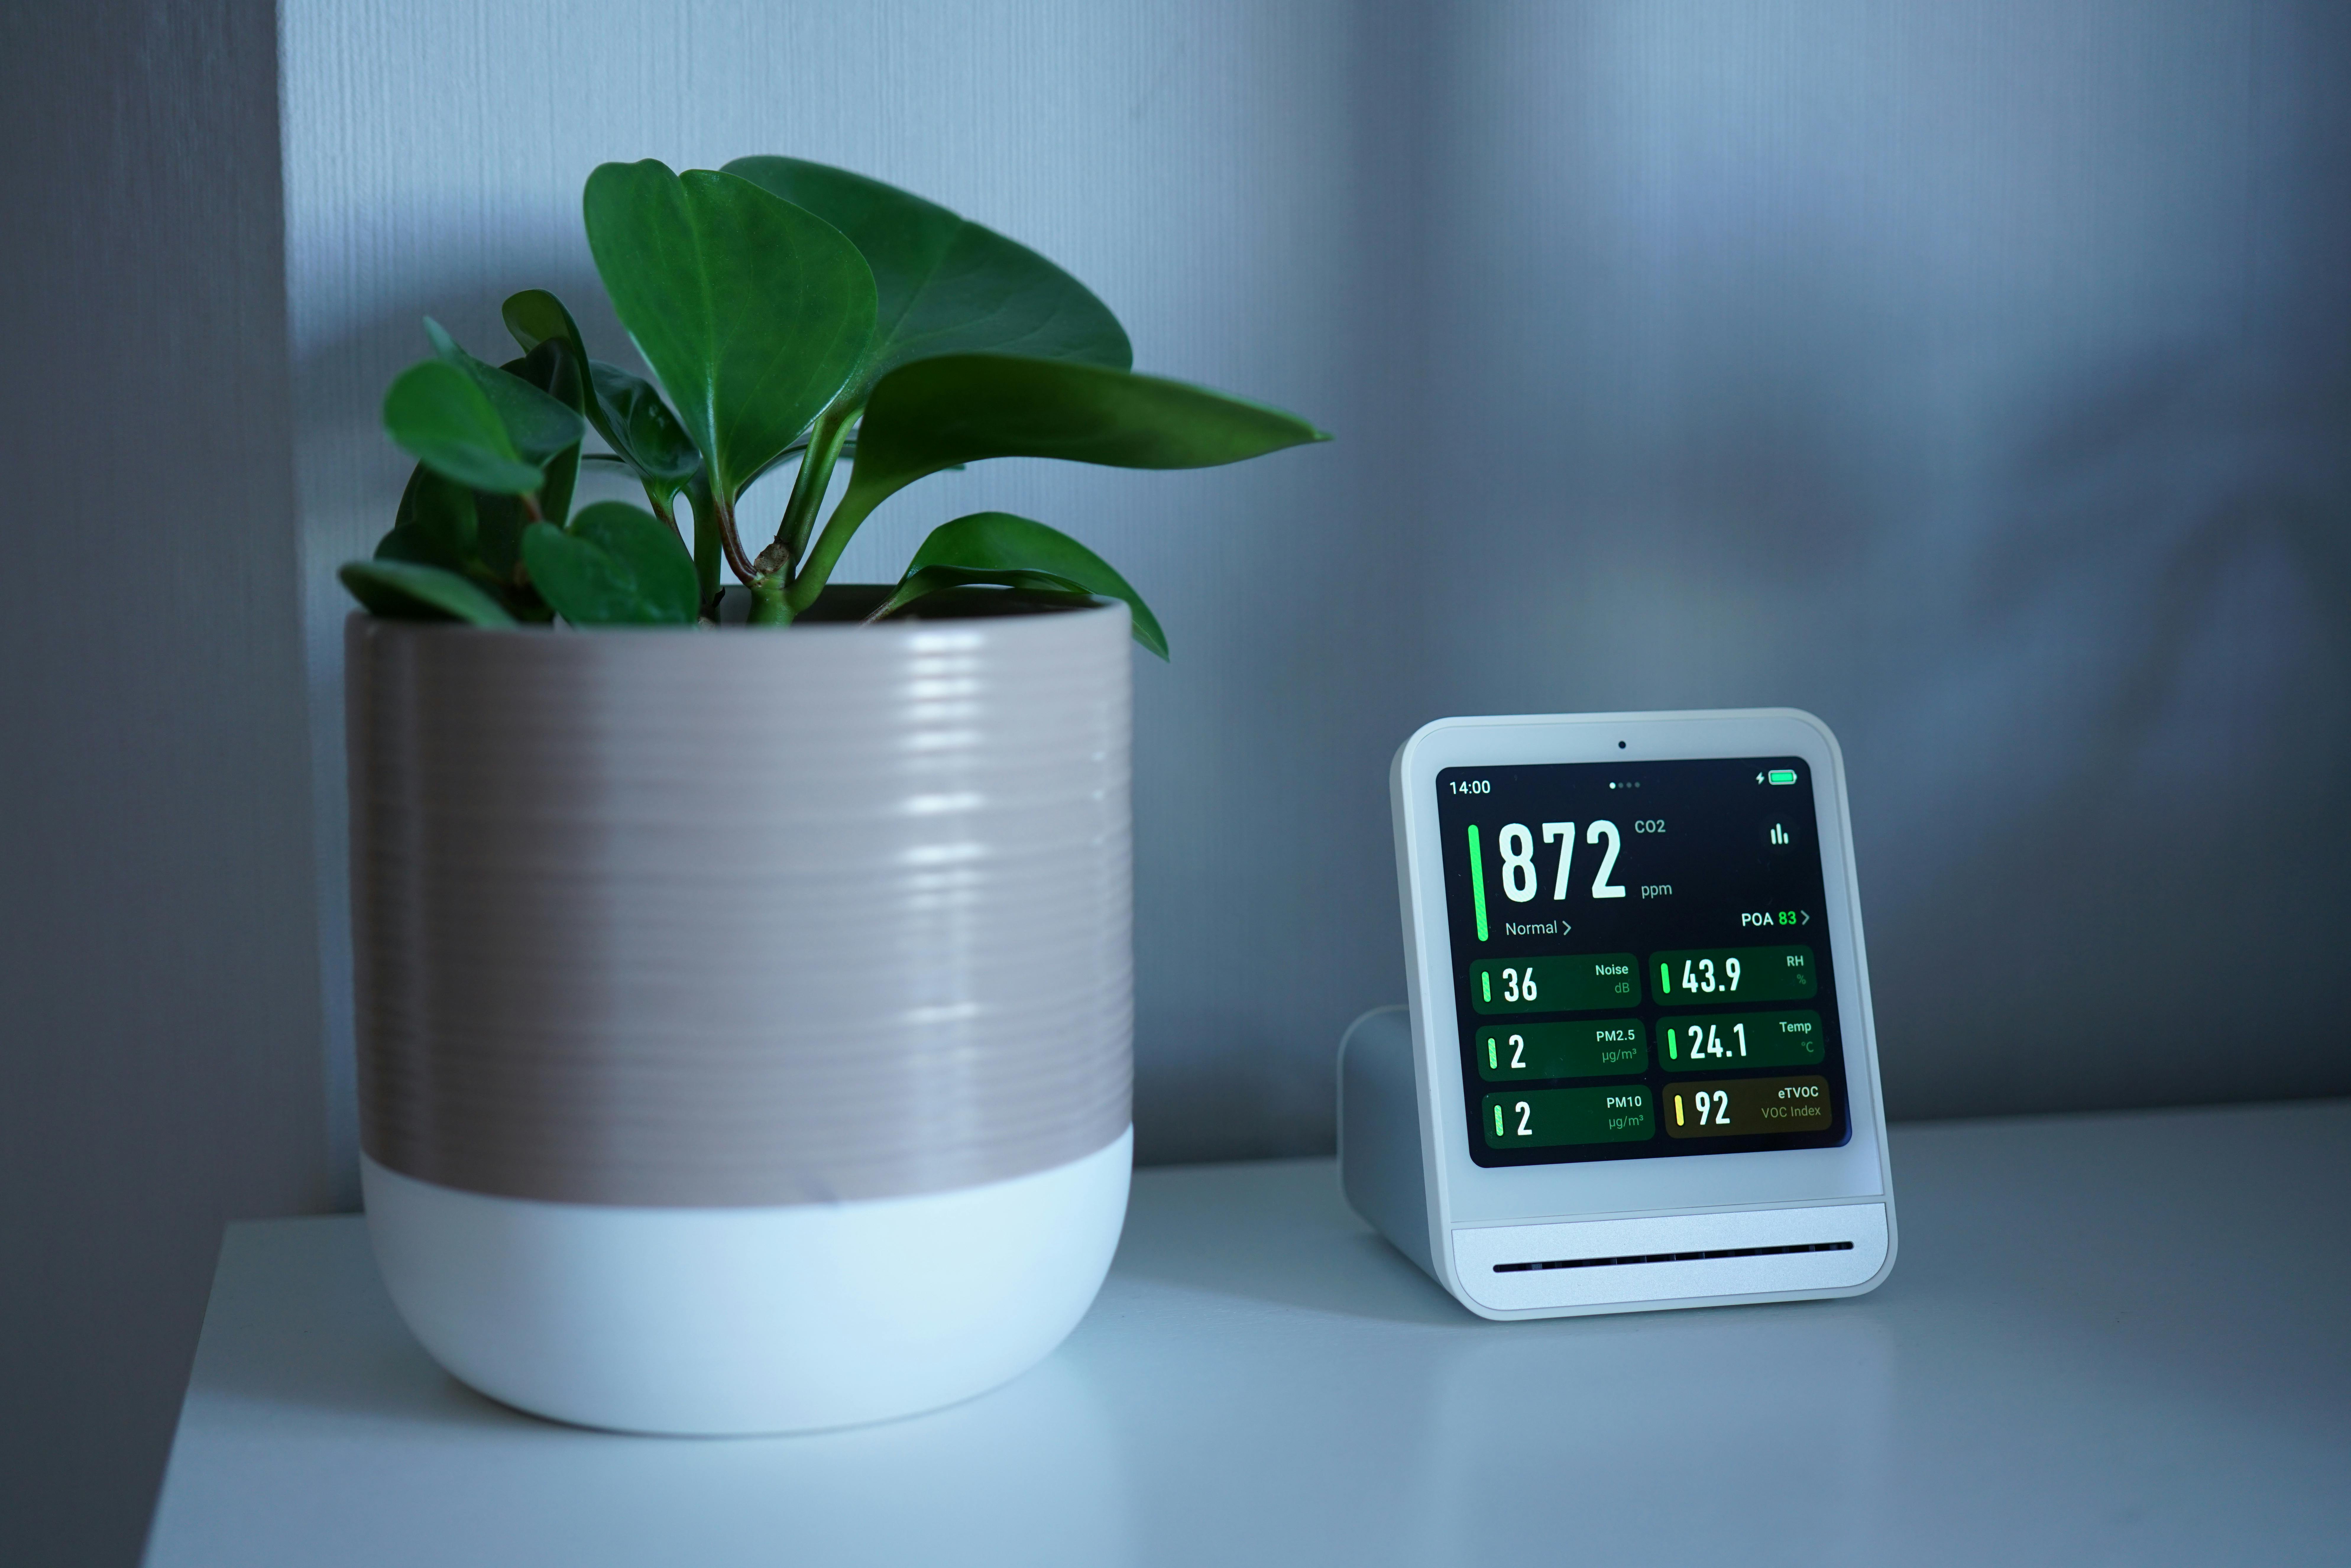
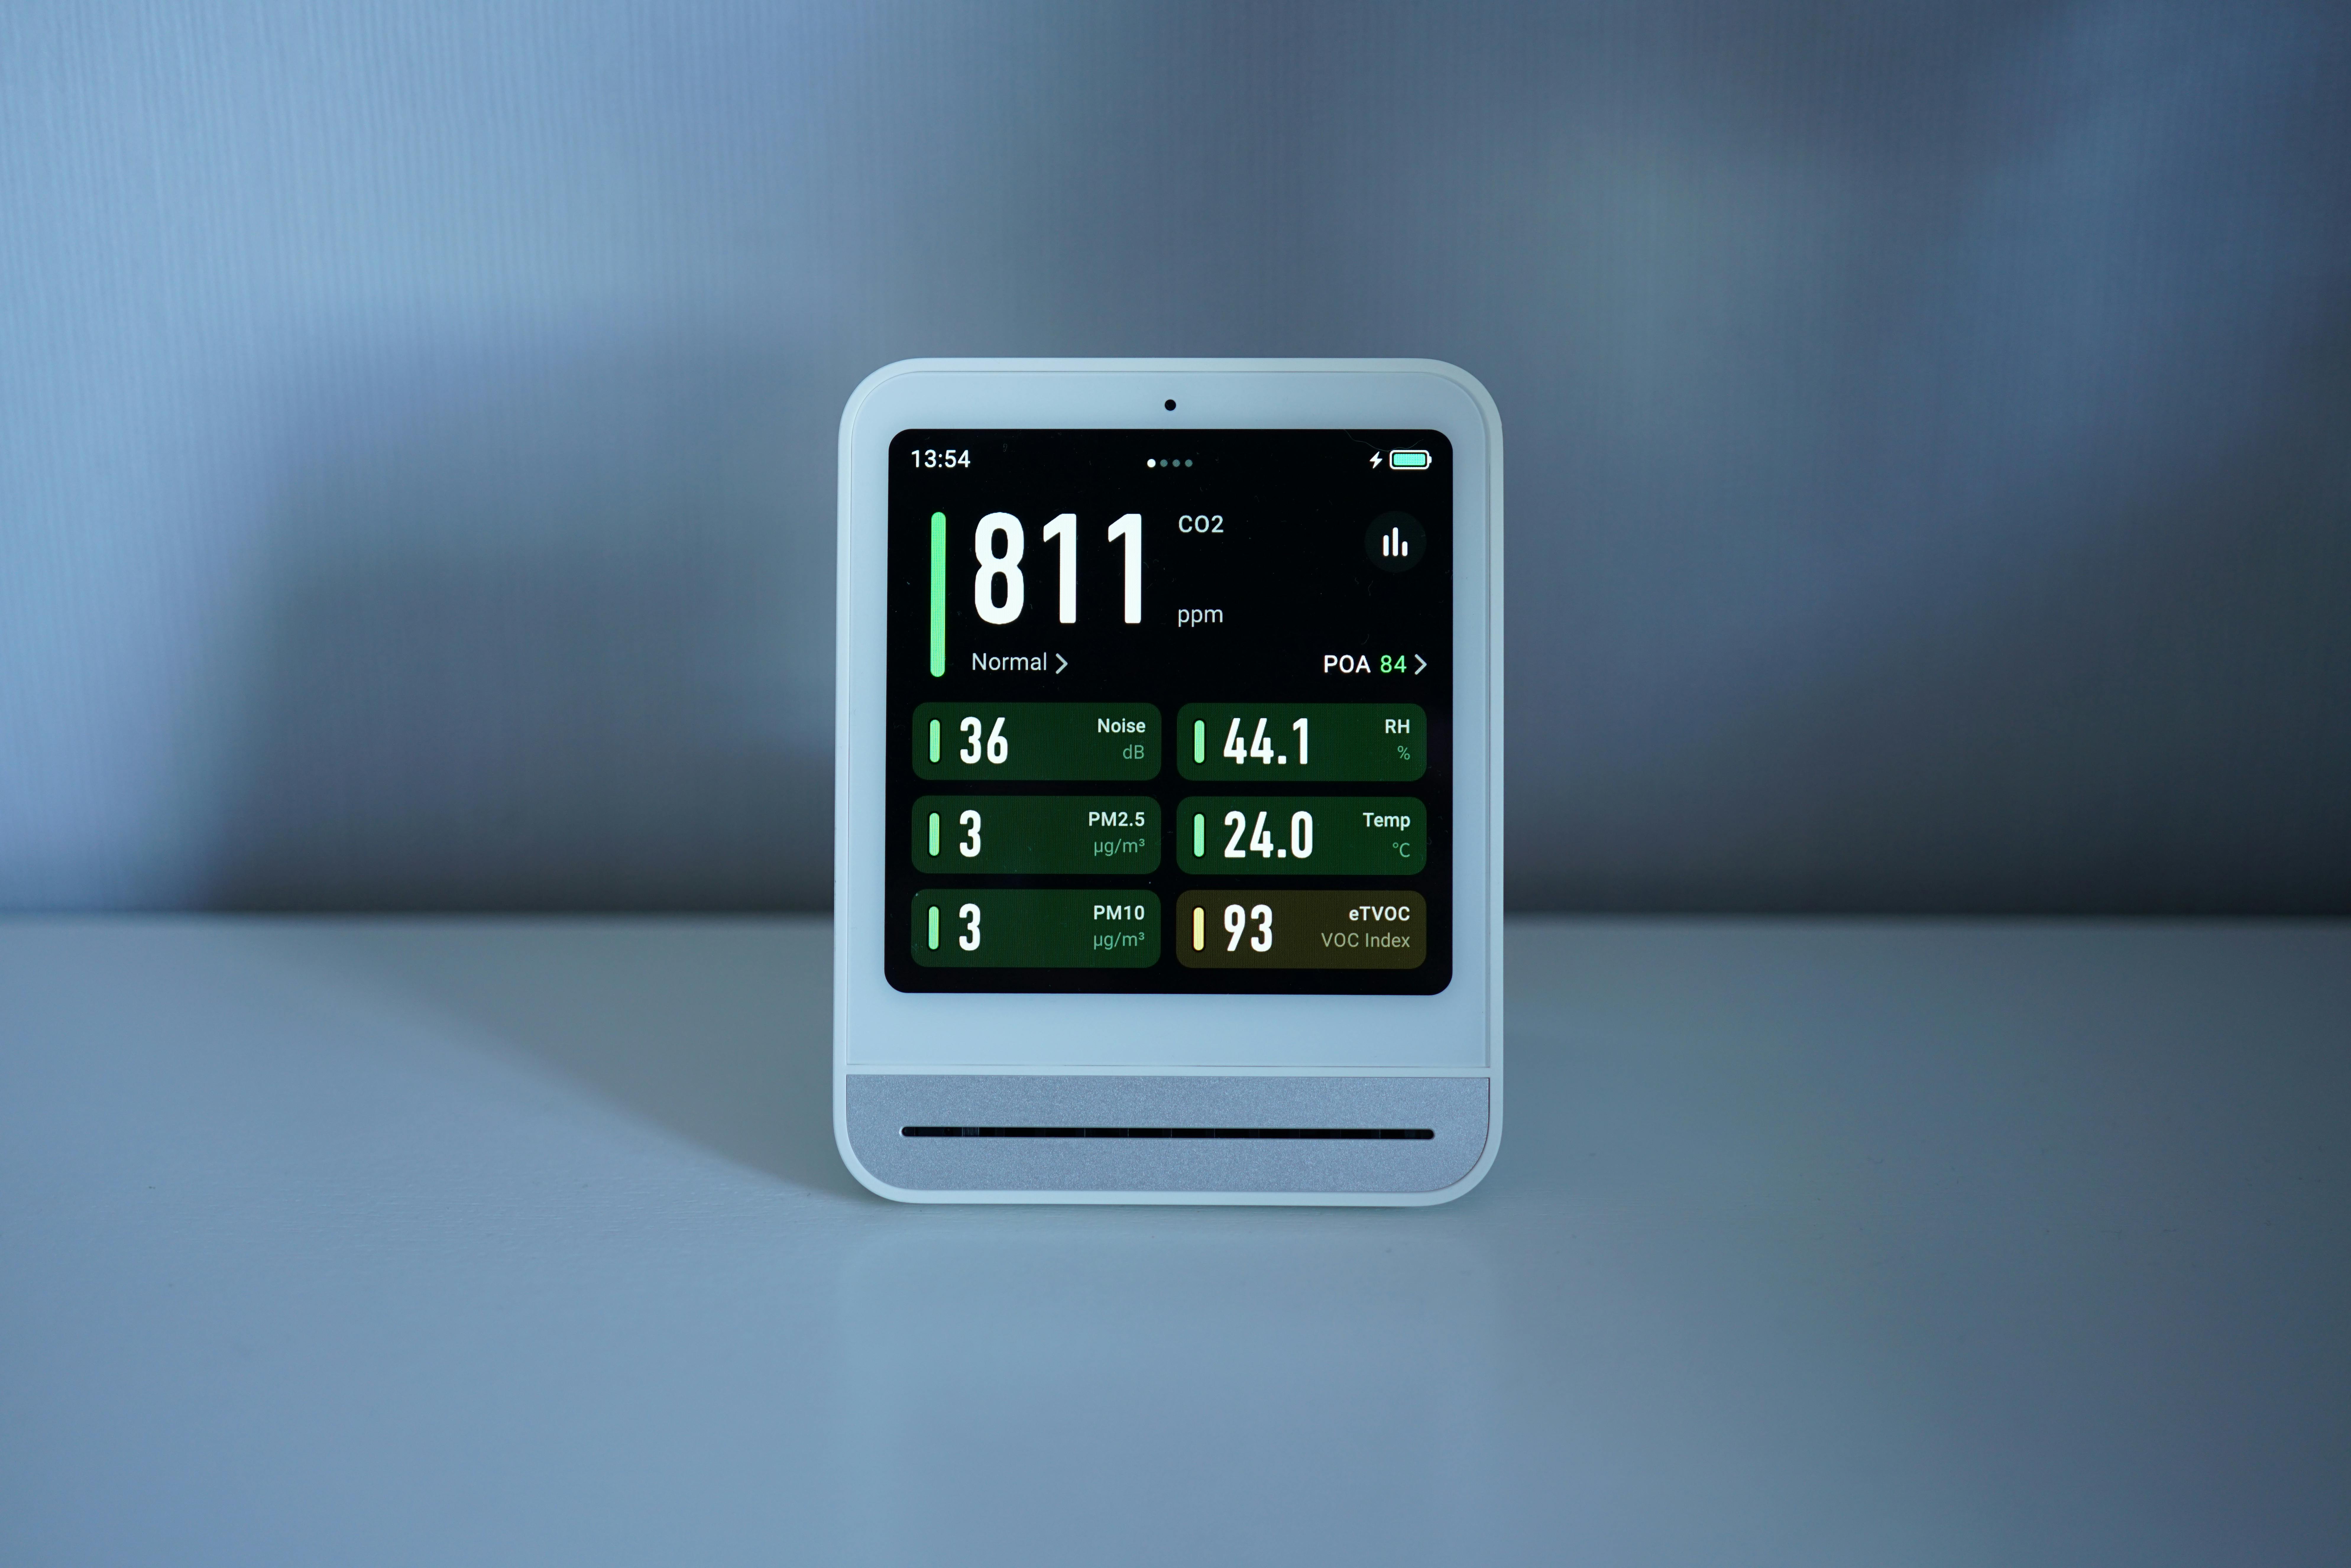
Data accuracy depends on more than just precise instruments—it requires clean data before any calibration adjustments take place, ensuring reliable results across all measurements.
🎯 Why Data Quality Matters Before You Touch Calibration Settings
Every measurement system, from laboratory equipment to industrial sensors, relies on two fundamental pillars: proper calibration and clean data. Yet many professionals rush to adjust calibration settings when they encounter accuracy issues, overlooking a critical preliminary step that can make or break their results.
Data cleaning represents the systematic process of identifying and correcting errors, inconsistencies, and anomalies in your dataset before making any calibration adjustments. This foundational practice prevents you from calibrating against flawed reference points, which would effectively build errors into your measurement system rather than eliminating them.
Think of it this way: calibrating equipment against dirty data is like setting your watch to match a broken clock. You might achieve precision in the technical sense, but your accuracy—the degree to which measurements reflect true values—remains fundamentally compromised.
The Hidden Costs of Skipping Data Preparation
Organizations that bypass thorough data cleaning before calibration face substantial consequences that extend far beyond simple measurement errors. These impacts ripple through entire operational workflows, affecting decision-making, product quality, and ultimately, bottom-line performance.
Manufacturing facilities have reported scrap rates increasing by 15-30% when calibration procedures rely on unverified data sets. In pharmaceutical applications, contaminated baseline data has led to batch rejections costing hundreds of thousands of dollars. Even seemingly minor inconsistencies compound over time, creating systematic biases that become increasingly difficult to detect and correct.
The financial implications extend to regulatory compliance as well. Industries operating under strict quality standards like ISO 17025 or FDA 21 CFR Part 11 face audit failures and potential sanctions when their calibration documentation reveals inadequate data validation procedures.
Understanding the Data-Calibration Relationship 🔍
Calibration adjustments modify instrument behavior to align outputs with known reference standards. This process assumes that your reference data accurately represents ground truth conditions. When that assumption fails due to dirty data, calibration becomes counterproductive.
Consider a temperature sensor calibration scenario. If your reference measurements contain outliers from electromagnetic interference, transient environmental fluctuations, or logging errors, your calibration curve will incorporate these anomalies. The sensor may then systematically misreport temperatures even though it technically passes calibration checks against the compromised reference set.
This paradox—equipment that appears calibrated yet produces inaccurate results—creates particularly dangerous situations because it passes conventional validation tests while generating unreliable operational data.
The Contamination Cascade Effect
Dirty data doesn’t just affect individual measurements. It cascades through interconnected systems, propagating errors across multiple instruments and processes. When one calibrated device uses outputs from another improperly calibrated device as its reference, error magnification occurs exponentially.
Laboratory networks demonstrate this vulnerability clearly. A single spectrometer calibrated against contaminated standards can compromise the accuracy of downstream analytical instruments that use its outputs for their own calibration procedures, creating an entire ecosystem of precisely wrong measurements.
Common Data Contaminants That Sabotage Calibration
Identifying specific types of data contamination helps you develop targeted cleaning protocols before calibration activities. Different contaminant categories require distinct detection and remediation strategies.
Systematic Errors and Bias
Systematic errors introduce consistent deviations in a particular direction, skewing all measurements by a relatively constant amount. These might originate from environmental factors like persistent temperature gradients, electromagnetic fields, or vibration patterns that weren’t present during initial calibration.
Unlike random errors that average out over multiple measurements, systematic errors compound with each reading. Calibrating against data containing systematic bias essentially locks that error into your measurement system as the new “correct” baseline.
Random Noise and Outliers
Random variations occur in all measurement systems, but extreme outliers—data points that deviate dramatically from expected ranges—indicate underlying problems requiring investigation before calibration proceeds.
These anomalies might reflect actual physical events worth preserving in your dataset, or they might represent measurement artifacts requiring removal. Distinguishing between genuine signal and noise demands careful analysis within the context of your specific application.
Missing and Incomplete Data
Gaps in reference datasets create ambiguity about interpolated values between measured points. Calibration curves built around incomplete data introduce uncertainties in measurement ranges where no verified reference points exist.
This problem particularly affects multi-point calibrations where accuracy across the entire operating range depends on having representative reference values distributed throughout that range. Missing data points leave portions of the calibration curve essentially guessed rather than empirically validated.
Transcription and Recording Errors
Human data entry introduces typographical errors, unit conversion mistakes, and decimal point misplacements that can dramatically distort reference values. Digital recording systems aren’t immune either—buffer overflows, truncation errors, and storage corruption can compromise data integrity without obvious indicators.
These errors often appear as isolated extreme values that might be dismissed as simple outliers, but they fundamentally misrepresent the measurements they’re supposed to record, making them particularly insidious contaminants in calibration datasets.
Building a Robust Data Cleaning Protocol 🛠️
Effective data cleaning before calibration requires systematic procedures that identify, evaluate, and appropriately handle various contaminants without introducing new problems or eliminating legitimate data.
Stage One: Initial Data Assessment
Begin with comprehensive data profiling to understand your dataset’s characteristics before making any modifications. Calculate descriptive statistics including mean, median, standard deviation, and range for each measurement parameter. Visualize data distributions using histograms and scatter plots to identify patterns, clusters, and anomalies.
This assessment phase establishes baseline expectations against which you can evaluate individual data points. It also reveals whether your dataset contains sufficient quantity and quality of measurements to support reliable calibration.
Stage Two: Outlier Detection and Evaluation
Apply statistical methods to identify outliers systematically rather than relying on subjective judgment. Common approaches include:
- Standard deviation methods flagging points beyond 2-3 standard deviations from the mean
- Interquartile range (IQR) techniques identifying values outside 1.5× IQR beyond quartile boundaries
- Z-score analysis highlighting measurements with extreme standardized deviations
- RANSAC algorithms detecting outliers through iterative model fitting
- Isolation forest methods identifying anomalies in high-dimensional datasets
Critical distinction: identifying outliers doesn’t automatically mean removing them. Each flagged point requires contextual evaluation to determine whether it represents genuine measurement, equipment malfunction, or data recording error.
Stage Three: Missing Data Resolution
Handle gaps in your reference dataset according to their size, distribution, and impact on calibration requirements. Small isolated gaps might be addressed through interpolation when adjacent measurements show consistent trends. Larger gaps typically require additional measurements to fill.
Avoid sophisticated imputation techniques like regression-based or machine learning approaches for calibration reference data—these methods introduce inferred values that lack the empirical verification calibration demands. When in doubt, collect new measurements rather than estimating missing reference points.
Stage Four: Consistency Verification
Cross-check measurements against physical constraints and known relationships. Temperature readings below absolute zero, negative concentration values, or results violating conservation laws indicate data problems requiring correction before calibration proceeds.
Verify temporal consistency by checking for impossible rates of change between sequential measurements. A temperature sensor reading that jumps 100 degrees in one second likely reflects a recording error rather than genuine measurement unless your application involves extreme transient phenomena.
Documentation: The Often-Overlooked Critical Step 📋
Comprehensive documentation of your data cleaning process proves essential for regulatory compliance, troubleshooting, and maintaining measurement traceability. Record every modification made to raw data, including the rationale for each decision.
Your documentation should enable someone else to understand exactly what cleaning operations you performed, why you made specific choices, and what the data looked like before and after each transformation. This transparency supports audit requirements and helps future analysts understand the provenance of calibration reference data.
Maintain both the original raw data and cleaned versions in separate, clearly labeled files. Never overwrite original measurements—you may need to revisit cleaning decisions if subsequent calibration results prove problematic or if new information emerges about data collection conditions.
When Clean Data Reveals Equipment Problems
Sometimes thorough data cleaning uncovers issues that calibration alone cannot fix. If systematic patterns persist after removing obvious contaminants, your measurement equipment may require maintenance, repair, or replacement before meaningful calibration can occur.
Persistent drift, excessive noise, or non-linear responses beyond calibration’s corrective capacity indicate fundamental equipment problems. Attempting to calibrate malfunctioning instruments wastes resources and creates false confidence in unreliable measurements.
This diagnostic value represents one of data cleaning’s most important but least appreciated benefits—it helps you distinguish between correctable calibration issues and deeper equipment failures requiring different interventions.
Automating Data Quality Checks Without Sacrificing Rigor 🤖
Manual data cleaning becomes impractical for large datasets or high-frequency calibration schedules. Automated quality control systems can perform routine checks while flagging unusual situations requiring human judgment.
Effective automation combines rule-based checks for obvious errors with statistical algorithms detecting subtler anomalies. The system should generate alerts rather than automatically modifying data, ensuring that qualified personnel review and approve all cleaning decisions affecting calibration reference datasets.
Modern data acquisition systems increasingly incorporate real-time quality monitoring that identifies problems during measurement collection rather than afterward. This approach prevents contaminated data from entering reference datasets in the first place, reducing cleaning workload while improving overall data quality.
Industry-Specific Considerations for Data Cleaning Protocols
Different industries face unique data quality challenges requiring tailored cleaning approaches before calibration activities.
Pharmaceutical and Biotechnology Applications
Regulatory requirements mandate extensive documentation of data handling procedures. Electronic records must maintain audit trails showing all modifications. Temperature mapping studies for stability chambers require especially rigorous data validation since calibration errors could compromise product safety and efficacy.
Manufacturing and Industrial Process Control
High-volume production environments generate massive datasets from numerous sensors. Automated quality checks become essential, but must be carefully configured to avoid false positives that would flag legitimate process variations as data errors. Calibration schedules must account for normal process drift versus data quality issues.
Environmental Monitoring Networks
Field instruments face harsh conditions that introduce various data contaminants including wildlife interference, weather damage, and power fluctuations. Reference data for calibration must account for legitimate environmental variations while filtering out equipment malfunctions and measurement artifacts.
Measuring the Impact: Quantifying Data Cleaning Benefits 📊
Organizations that implement rigorous data cleaning before calibration typically observe measurable improvements across multiple performance indicators. Measurement uncertainty decreases as systematic errors get eliminated rather than incorporated into calibration adjustments.
Calibration frequency requirements often decrease when clean reference data produces more stable and reliable calibration curves. Equipment lifespans extend because maintenance needs get identified earlier through careful data analysis rather than manifesting as catastrophic failures.
Quality metrics improve across the board—reduced scrap rates, fewer customer complaints, lower warranty claims, and improved process capability indices all flow from the foundation of accurate measurements built on clean data and proper calibration.
Training Teams to Prioritize Data Quality
Technical staff often focus on calibration procedures themselves while treating data preparation as a minor preliminary step. Changing this mindset requires education about how data quality fundamentally determines calibration effectiveness.
Effective training programs demonstrate real examples from your operations showing how data cleaning prevented calibration errors or how skipping it caused problems. Hands-on exercises where team members practice identifying and addressing various data contaminants build practical skills and reinforce best practices.
Cross-functional collaboration between quality assurance, metrology, and operations teams ensures that data cleaning protocols align with both technical requirements and practical workflow constraints. No matter how theoretically sound, procedures that don’t fit operational realities won’t be consistently followed.
The Path Forward: Integrating Quality Throughout the Measurement Lifecycle ✨
The most successful organizations recognize that data quality isn’t a one-time activity before calibration but rather a continuous practice embedded throughout the measurement lifecycle. From initial sensor installation through data collection, storage, analysis, and eventual equipment retirement, quality considerations inform every decision.
This holistic approach creates measurement systems that generate inherently cleaner data requiring less intensive cleaning before calibration. Environmental controls minimize contamination sources. Robust data acquisition protocols include built-in validation checks. Regular equipment maintenance prevents problems before they compromise data quality.
As measurement technologies advance and data volumes continue growing, the relationship between data cleaning and calibration accuracy becomes increasingly critical. Organizations that master this relationship gain competitive advantages through superior data quality, more efficient operations, and enhanced decision-making capabilities grounded in measurements they can trust.
The investment in proper data cleaning before calibration adjustments pays dividends far beyond the immediate calibration activity. It establishes a foundation of measurement integrity that supports quality, safety, and performance across your entire operation—transforming data from a potential liability into a genuine strategic asset.
Toni Santos is an environmental sensor designer and air quality researcher specializing in the development of open-source monitoring systems, biosensor integration techniques, and the calibration workflows that ensure accurate environmental data. Through an interdisciplinary and hardware-focused lens, Toni investigates how communities can build reliable tools for measuring air pollution, biological contaminants, and environmental hazards — across urban spaces, indoor environments, and ecological monitoring sites. His work is grounded in a fascination with sensors not only as devices, but as carriers of environmental truth. From low-cost particulate monitors to VOC biosensors and multi-point calibration, Toni uncovers the technical and practical methods through which makers can validate their measurements against reference standards and regulatory benchmarks. With a background in embedded systems and environmental instrumentation, Toni blends circuit design with data validation protocols to reveal how sensors can be tuned to detect pollution, quantify exposure, and empower citizen science. As the creative mind behind Sylmarox, Toni curates illustrated build guides, open calibration datasets, and sensor comparison studies that democratize the technical foundations between hardware, firmware, and environmental accuracy. His work is a tribute to: The accessible measurement of Air Quality Module Design and Deployment The embedded systems of Biosensor Integration and Signal Processing The rigorous validation of Data Calibration and Correction The maker-driven innovation of DIY Environmental Sensor Communities Whether you're a hardware builder, environmental advocate, or curious explorer of open-source air quality tools, Toni invites you to discover the technical foundations of sensor networks — one module, one calibration curve, one measurement at a time.

